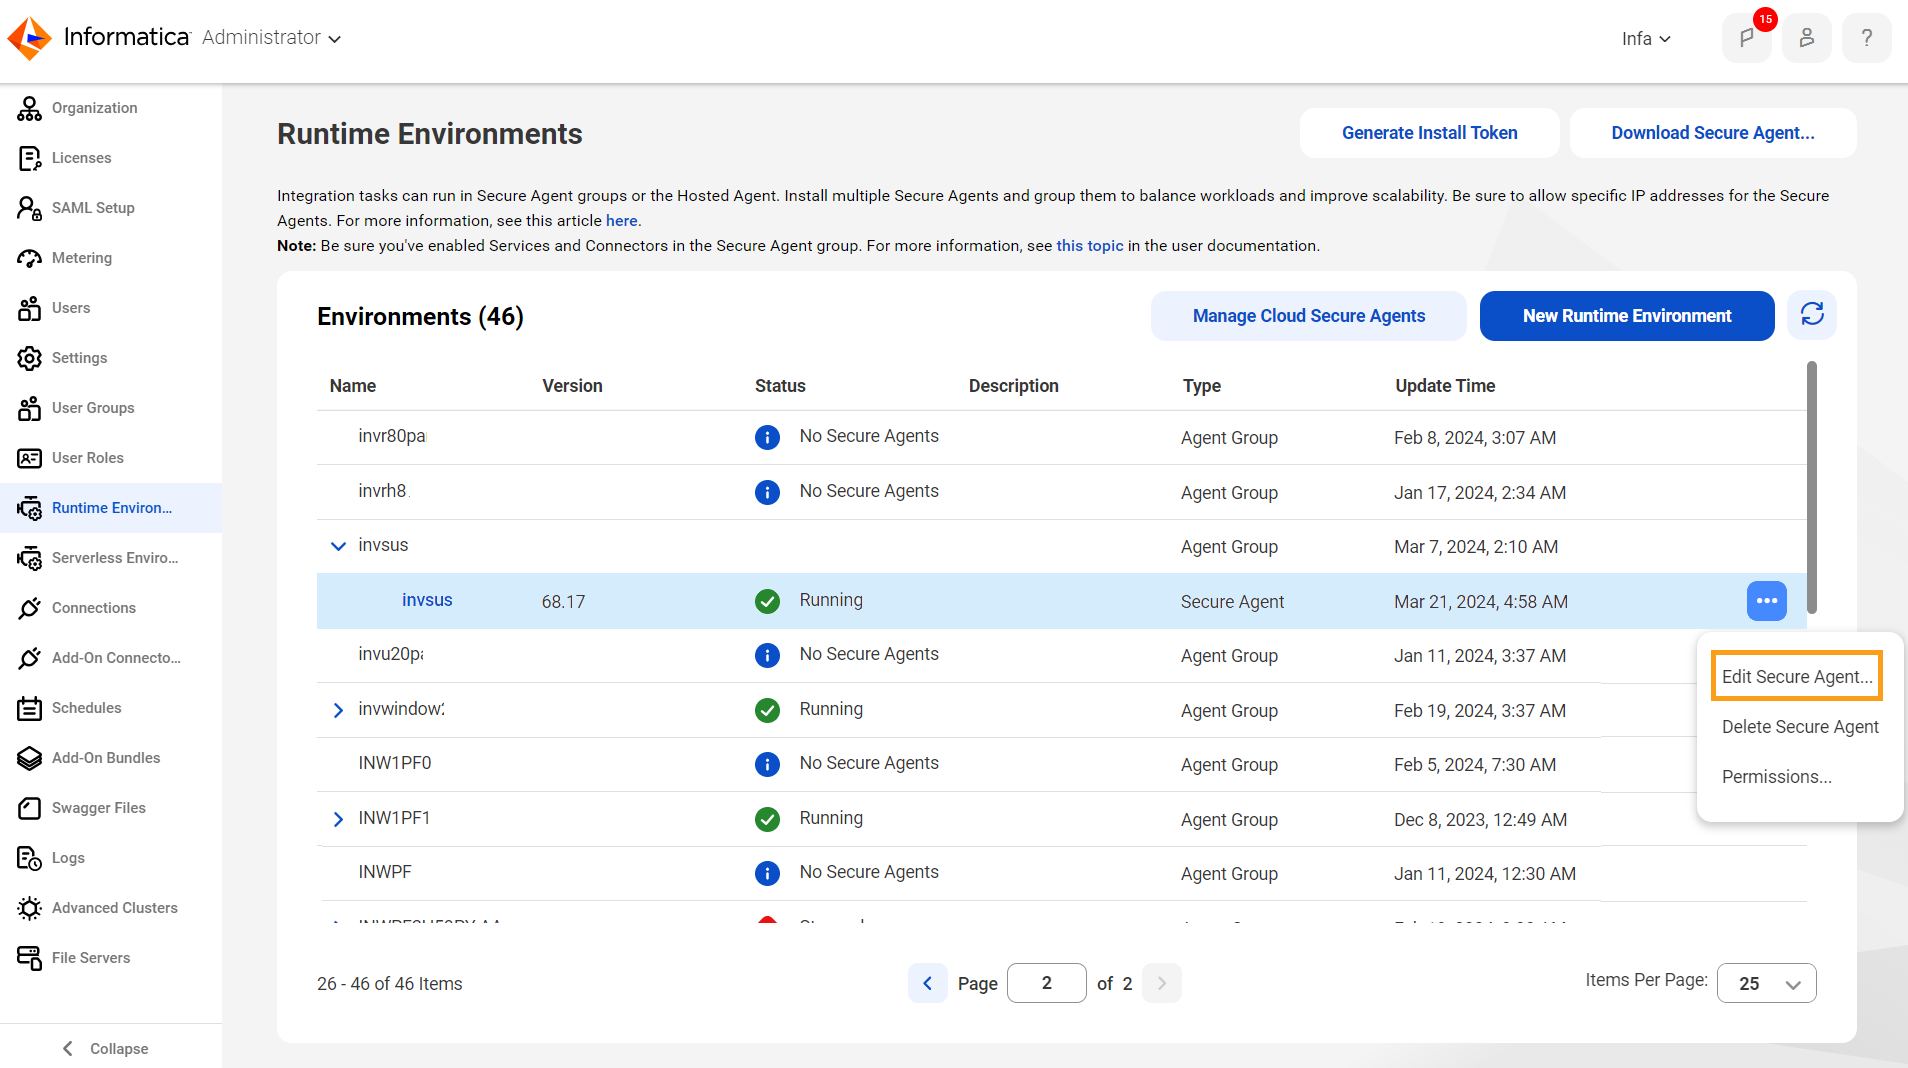
1From the My Services page, select the Administrator service.
2Choose the Runtime Environments option.
3Select the Secure Agent that you will use to run address verification mappings.
4Hover over the action icon for the Secure Agent, and select the Edit Secure Agent option.

The Secure Agent page appears.
5Under System Configuration Details, select the following options:
- - Select Data Integration Server in the Service field.
- - Select CDQAV in the Type field.
The System Configuration Details pane returns a list of properties based on the type that you specified.
6Review the properties.
You must provide a license file for each type of reference data that you will download and use in a mapping. You can accept the default values for all other properties. Add the license files to a directory that the Secure Agent can read.
For example, add the files to the following location:
[Informatica_root_directory]/avLicenseFile]
Optionally, update the property values to suit your system and the mappings that you will run.
Note: If you deploy the Secure Agent in a container environment on Linux, review the amount of memory available in the /dev/shm memory space. A Secure Agent that you deploy in a container environment requires access to at least 1 GB memory space for address verification operations.