1In Application Integration, click New.
The New Asset dialog box appears.
The following image shows the New Asset dialog box:
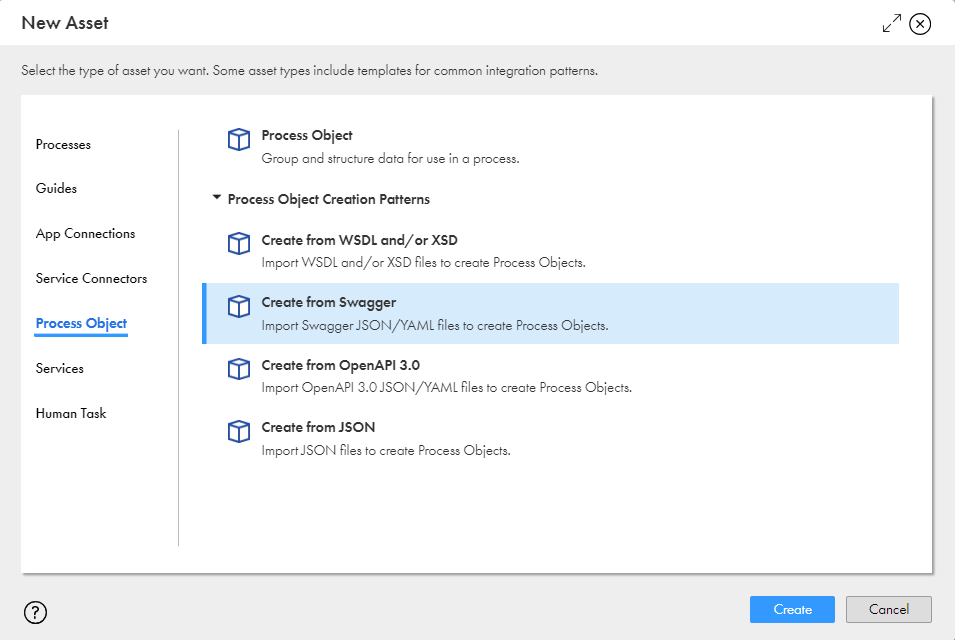
2Click Process Object on the left pane.
3On the right pane, expand the Process Object Creation Patterns list, click Create from Swagger, and then click Create.
The New Process Objects Creation from Swagger Files dialog box appears.
The following image shows the New Process Objects Creation from Swagger Files dialog box:
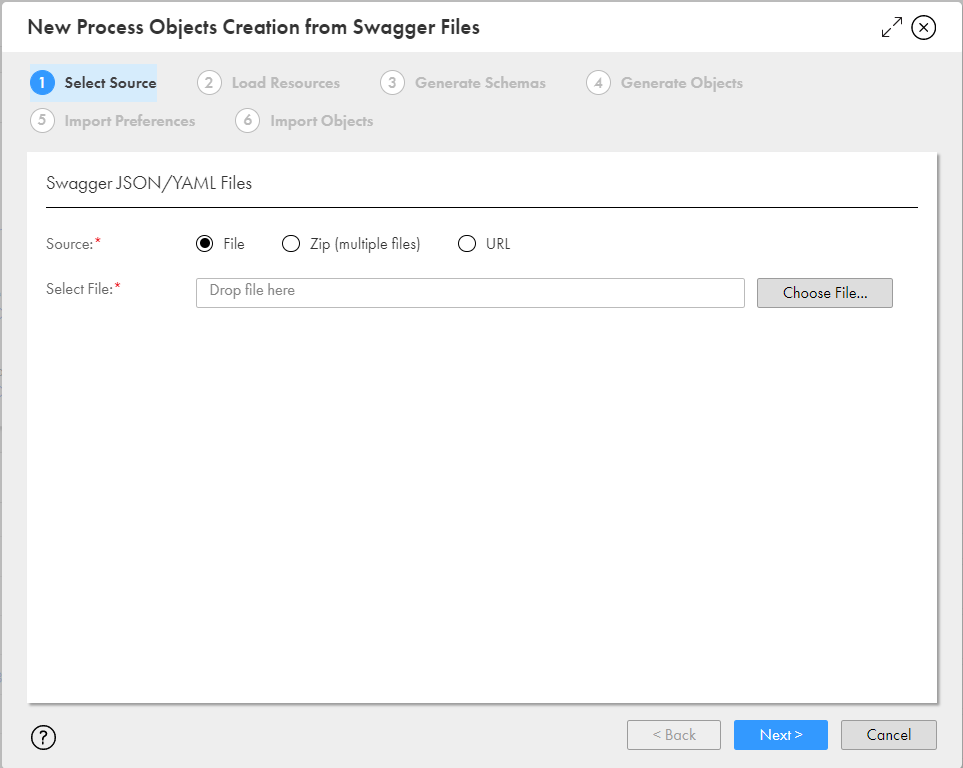
4In the Source field, select one of the following values:
Option | Description |
|---|---|
File | Select File to specify a single Swagger source file from your local system. Click Choose File to select the Swagger source file. The maximum allowed file size for a single file is 5 MB. To increase the maximum size limit, contact Informatica Global Customer Support. Default is File. |
Zip (multiple files) | Select Zip to specify multiple Swagger source files in the form of a zip file from your local system. Click Choose File to select the zip file. The maximum allowed file size for a zip file is 5 MB. To increase the maximum size limit, contact Informatica Global Customer Support. |
URL | Select URL to specify a URL that contains a Swagger source file. The URL and Use Authentication fields appear. In the URL field, enter the source URL. Select the Use Authentication option to specify the user name and password to access the source URL. |
5Click Next.
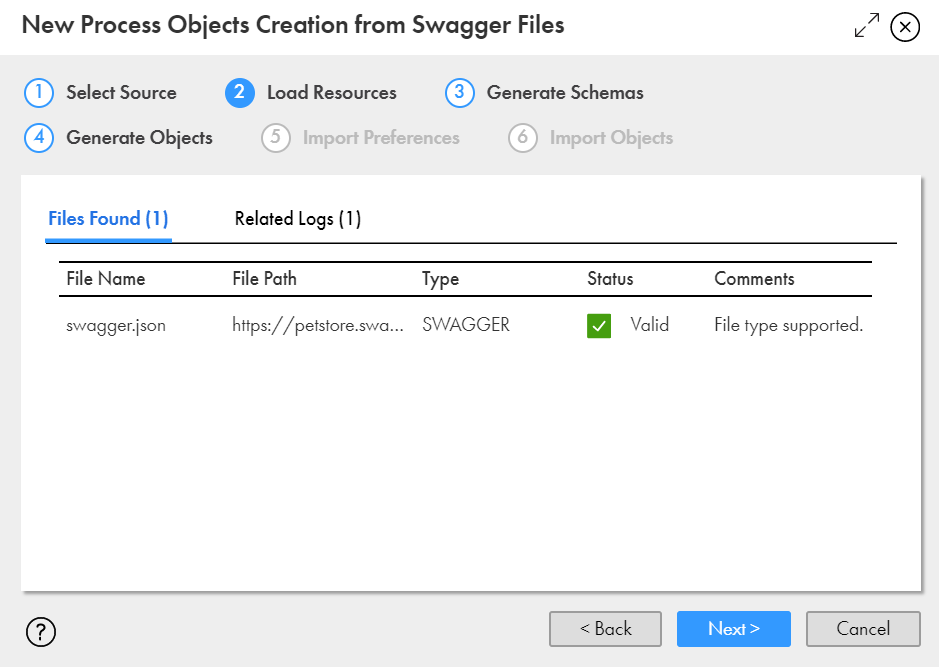
Application Integration parses the specified source file or URL and displays the resource details on the Load Resources tab.
The following image shows the Load Resources tab with the resource details:
6Review the resource details.
The following table describes the columns that the Load Resources tab displays:
Column Name | Description |
|---|---|
File Name | The file name of the resource. |
File Path | The URL or relative location of each resource within the source. |
Type | The file type of the resource. Displays the value as SWAGGER. |
Status | The status of the resource. Displays one of the following values:
|
Comments | Indicates whether the file type is supported or not. |
If there are parsing errors, Application Integration displays the error details on the Related Logs tab. Fix the errors and try again.
7Click Next.
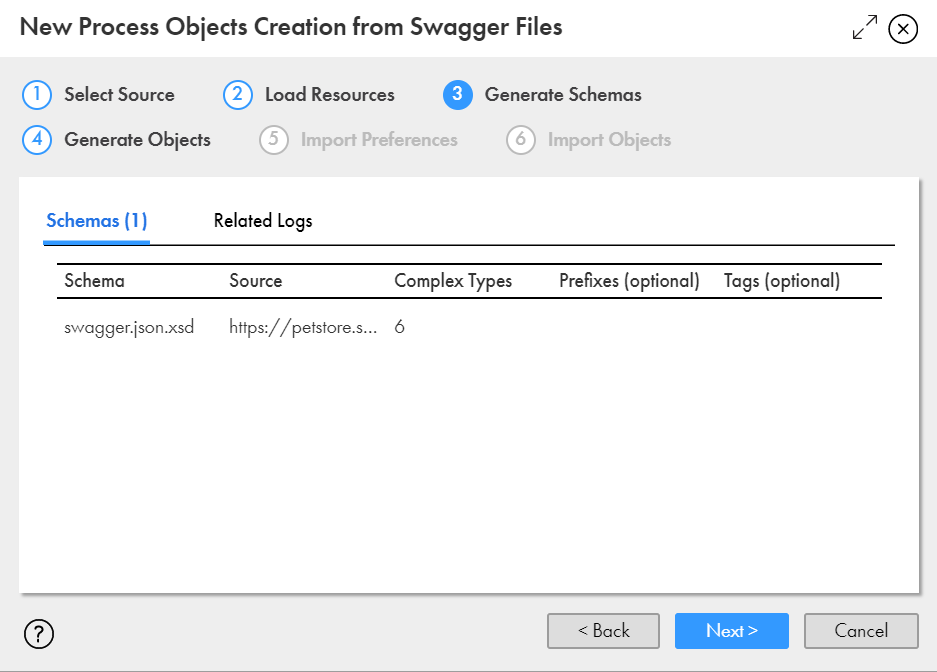
Application Integration converts the resources into XSD schemas based on which the process objects will be created. It displays the schema details on the Generate Schemas tab.
The following image shows the Generate Schemas tab with the schema details:
8Review the schema details.
The following table describes the columns that the Generate Schemas tab displays:
Column Name | Description |
|---|---|
Schema | The name of the generated XSD schema file. |
Source | The source from which the XSD schema file was generated. |
Complex Types | The number of complex types that will be created for each XSD schema. |
Prefixes | The prefix to be used for the XSD schema. You can use a prefix to easily identify process objects that are created from a schema. For example, you might want to add the prefix Salesforce for all process objects that are created from a Salesforce schema. To specify a prefix for a schema, double-click under the Prefixes column against the row that contains the schema, and enter a prefix. All the process objects that are created from the schema will use the same prefix that you specify in this field. |
Tags | The tags to be used for the XSD schema. You can use a tag to group related schemas together. For example, you might want to group all schemas containing financial resources under the tag Finance. To specify a tag for a schema, double-click under the Tags column against the row that contains the schema, and enter a tag. All the process objects that are created from the schema will use the same prefix that you specify in this field. |
If there are schema generation errors, Application Integration displays the error details on the Related Logs tab. Fix the errors and try again.
9Click Next.
Application Integration applies the prefixes and tags that you specified for the XSD schemas, and generates the process objects based on the XSD schemas. It displays the process object details on the Generate Objects tab.
The following image shows the Generate Objects tab with the process object details:
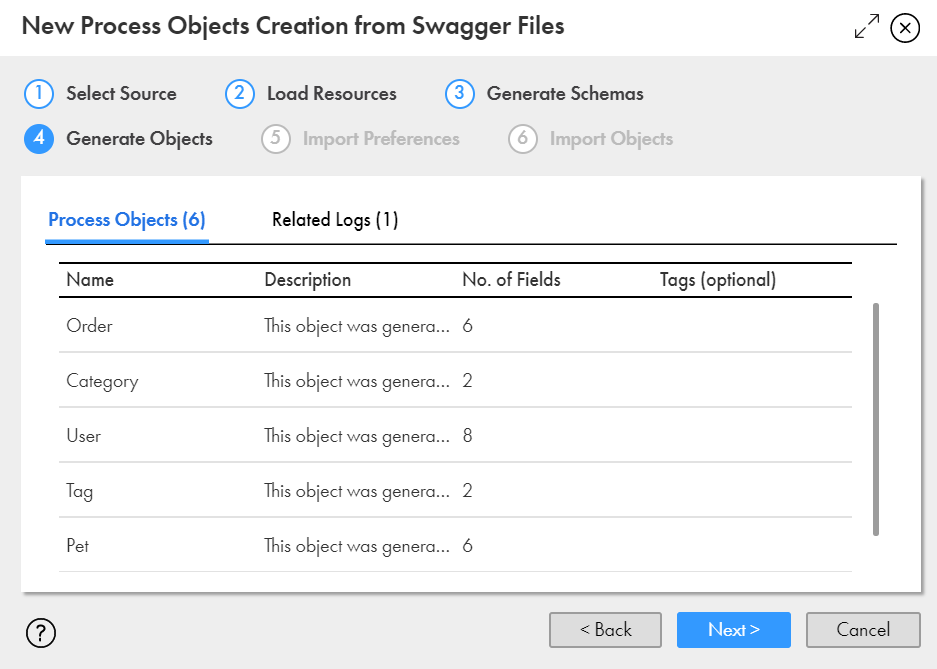
10Review the process object details.
The following table describes the columns that the Generate Objects tab displays:
Column Name | Description |
|---|---|
Name | The name of the process object that was generated from the schema. |
Description | The schema from which the process object was generated. You can edit the description. |
No. of Fields | The number of complex types that the process object contains. |
Tags | The tags to be used for the process object. By default, the process object tags are derived from the tags that you specified for the XSD schema. You can edit the tags if you want to specify different tags at the process object level. To edit the tags for a process object, double-click under the Tags column against the row that contains the process object, and update the tags. |
11Click Next.
The Import Preferences tab appears displaying the number of process objects that will be created.
The following image shows the Import Preferences tab:
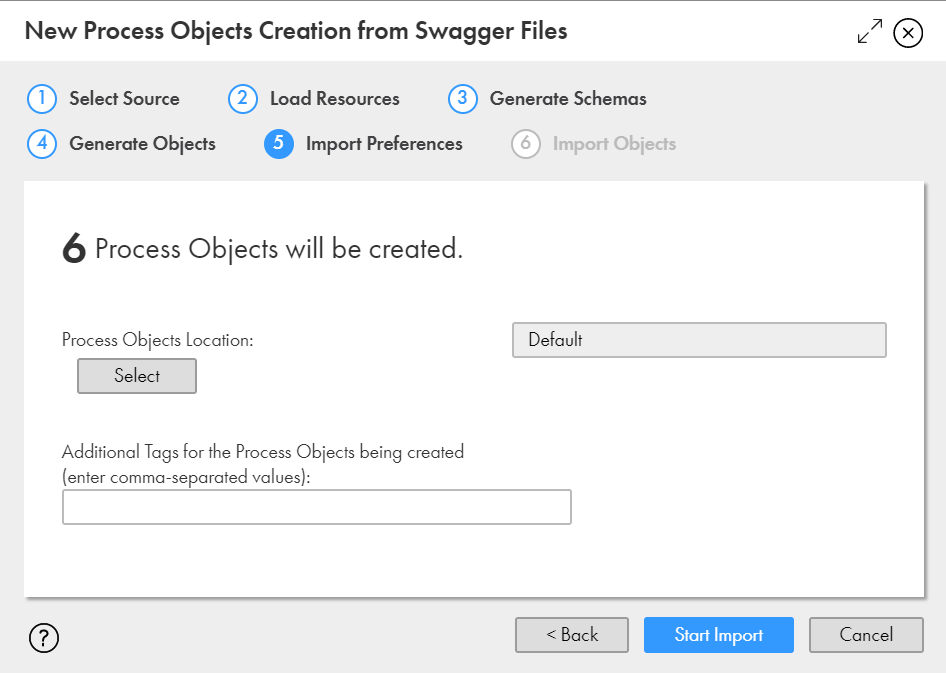
12Optionally, click Select to specify a location where you want to save the process objects.
Default is the location that was selected when you opened the New Process Objects Creation from Swagger Files wizard.
13Optionally, specify additional tags for the process objects as comma-separated values.
14Click Start Import.
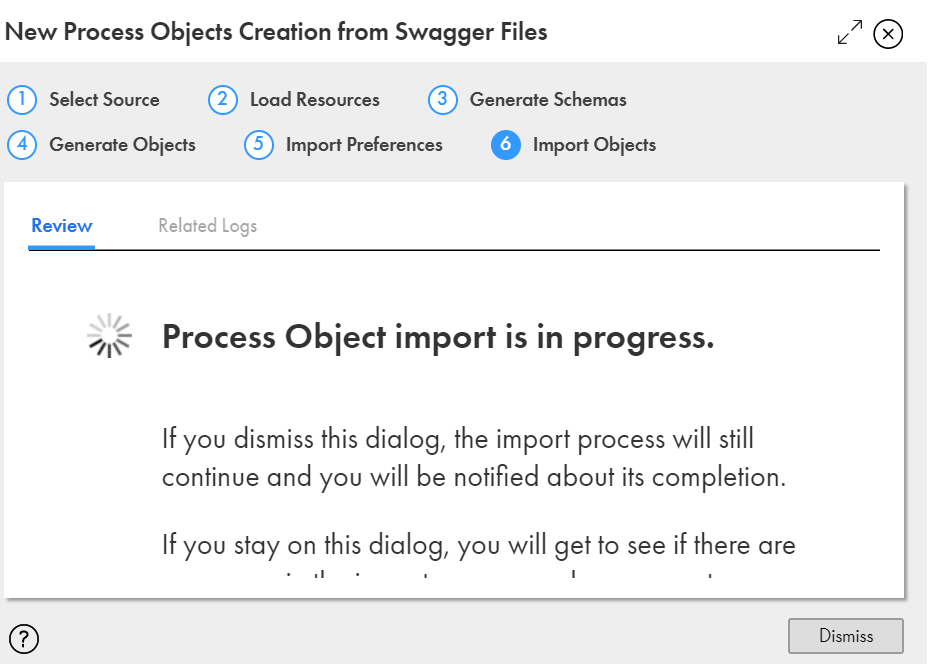
Application Integration starts importing the process objects and displays the import status.
The following image shows the import status:
15Perform one of the following actions:
- - To dismiss the dialog box and get notified when the process objects import is complete, click Dismiss.
- - To view and fix import errors, and retry the import, stay on the dialog box.
After importing the process objects, Application Integration displays a status message indicating if the import was successful or failed.
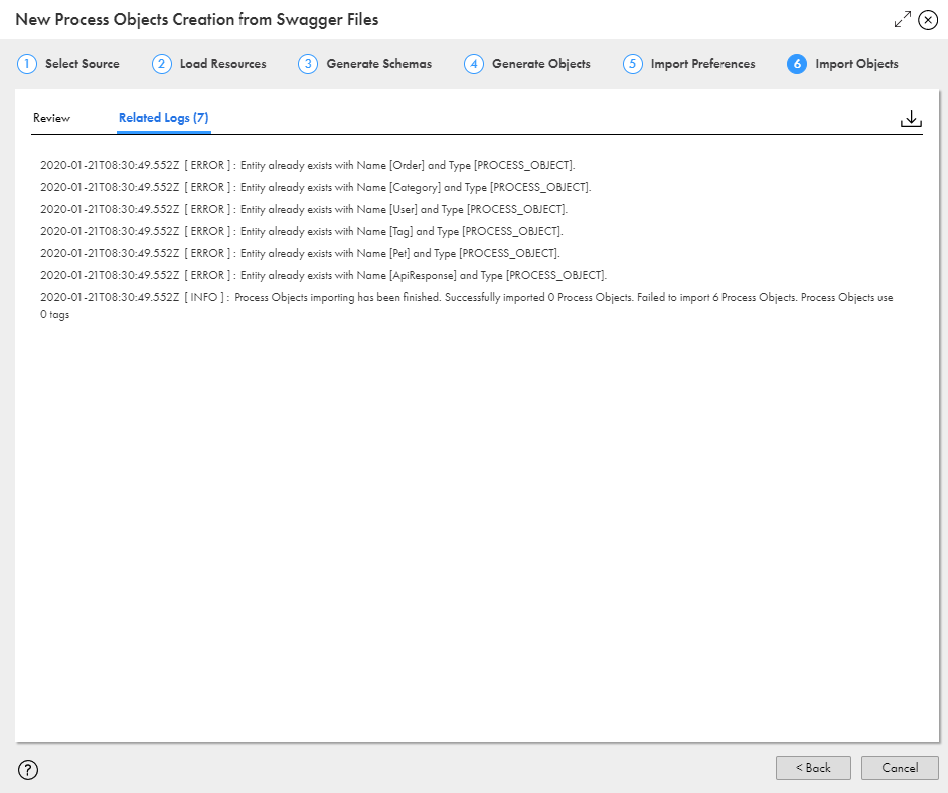
If the import failed, check the Related Logs tab, fix the errors, and try importing the process objects again. You can also click the Download icon to download the entire log.
The following image shows a sample log stating that six process objects were not imported because they already exist in the specified location:
16Click Done.
17Navigate to the location that you specified for the process objects creation and review the process objects.