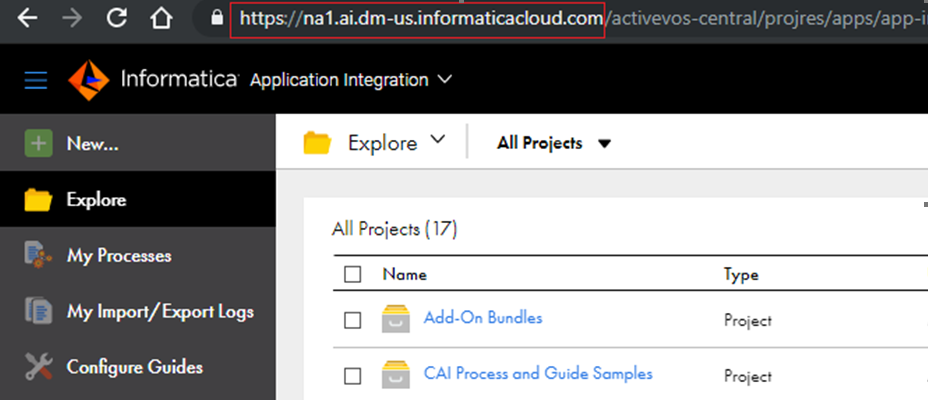
POD Name | Cloud Application Integration URL | POD-specific Cloud Application URL for Salesforce |
|---|
AP NorthEast 2 | https://apne2-cai.dm-apne.informaticacloud.com | https://apne2-sfdc-cai.dm-apne.informaticacloud.com |
APJ/APSE1 | https://apse1-cai.dm-ap.informaticacloud.com | https://apse1-sfdc-cai.dm-ap.informaticacloud.com |
AZ GERMANY | https://emc1-cai.dm1-em.informaticacloud.com | https://emc1-sfdc-cai.dm1-em.informaticacloud.com |
AZ SINGAPORE | https://apse1-cai.dm1-apse.informaticacloud.com | https://apse1-sfdc-cai.dm1-apse.informaticacloud.com |
AZURE NTT | https://apne1-cai.dm1-ap.informaticacloud.com | https://apne1-sfdc-cai.dm1-ap.informaticacloud.com |
AZURE POD1 | https://usw1-cai.dm1-us.informaticacloud.com | https://usw1-sfdc-cai.dm1-us.informaticacloud.com |
AZURE POD3 | https://usw3-cai.dm1-us.informaticacloud.com | https://usw3-sfdc-cai.dm1-us.informaticacloud.com |
C360-Preview | https://usw1-cai.dmp-us.informaticacloud.com | https://usw1-sfdc-cai.dmp-us.informaticacloud.com |
CANADA | https://nac1-cai.dm-na.informaticacloud.com | https://nac1-sfdc-cai.dm-na.informaticacloud.com |
EMW1 | https://emw1-cai.dm-em.informaticacloud.com | https://emw1-sfdc-cai.dm-em.informaticacloud.com |
GCP | https://usw1-cai.dm2-us.informaticacloud.com | https://usw1-sfdc-cai.dm2-us.informaticacloud.com |
POD1/USW1/NA1 | https://na1.ai.dm-us.informaticacloud.com | https://na1.sfdc-ai.dm-us.informaticacloud.com |
POD2/NA2 | https://na2.ai.dm-us.informaticacloud.com | https://na2.sfdc-ai.dm-us.informaticacloud.com |
POD3/USW3 | https://usw3-cai.dm-us.informaticacloud.com | https://usw3-sfdc-cai.dm-us.informaticacloud.com |
POD4/USE4 | https://use4-cai.dm-us.informaticacloud.com | https://use4-sfdc-cai.dm-us.informaticacloud.com |
POD5/USW5 | https://usw5-cai.dm-us.informaticacloud.com | https://usw5-sfdc-cai.dm-us.informaticacloud.com |
POD6/USE6 | https://use6-cai.dm-us.informaticacloud.com | https://use6-sfdc-cai.dm-us.informaticacloud.com |
PREVIEW | https://usw1-cai.dmr-us.informaticacloud.com | https://usw1-sfdc-cai.dmr-us.informaticacloud.com |
UAE (Azure EMSE) | https://emse1-cai.dm1-emse.informaticacloud.com | https://emse1-sfdc-cai.dm1-emse.informaticacloud.com |
UK1 | https://uk1-cai.dm-uk.informaticacloud.com | https://uk1-sfdc-cai.dm-uk.informaticacloud.com |


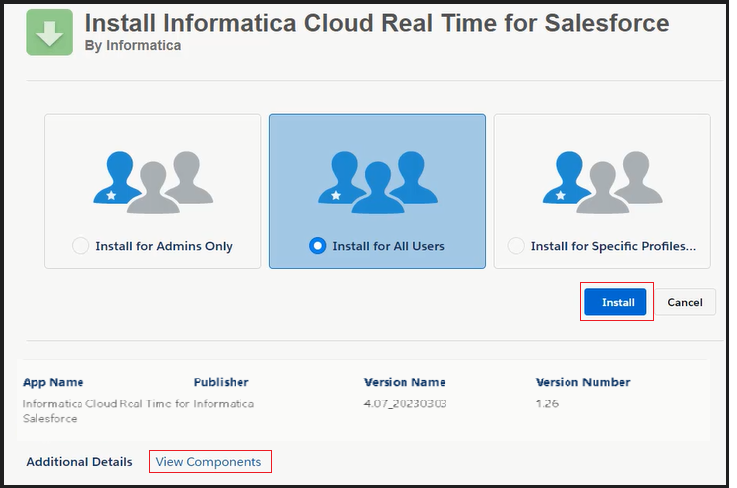
 The Installed Packages page appears with the managed package under Installed Packages.


