Create Amazon Bedrock Knowledge Base and Data Source using Guide > Using the Create Amazon Bedrock Knowledge Base and Data Source using Guide recipe > Step 4. Configure and publish the Amazon S3 connection
  

Step 4. Configure and publish the Amazon S3 connection

Configure the Secure Agent and Amazon S3 bucket name to connect to Amazon S3, and then publish the AmazonS3forAmazonBedrockConnection connection.
  1. 1Open the AmazonS3forAmazonBedrockConnection connection.
  2. 2From the Run On field, select the Secure Agent.
  3. Note: Ensure that the Amazon S3 v2 Connector is enabled for the Secure Agent from the Enable/Disable Components in runtime environment page of Administrator. For information about enabling connections for a Secure Agent group in Administrator, see Runtime environments in Administrator.
    The following image shows the Amazon S3 v2 Connector option on the Administator page.
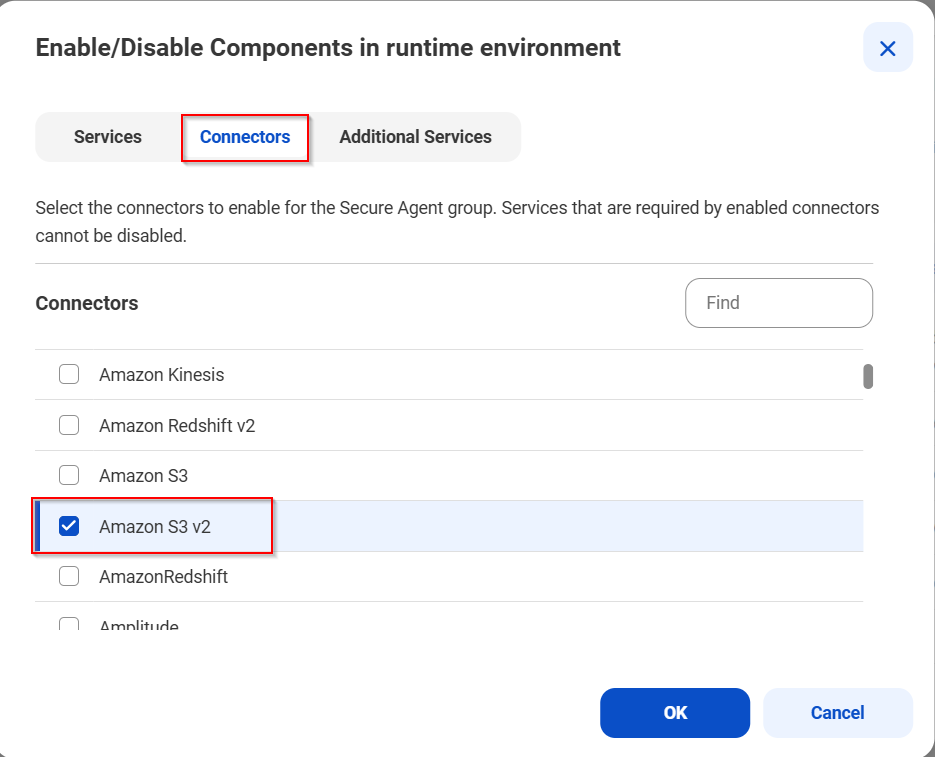
    The image shows the Amazon S3 v2 connector option on the Administrator page.
  4. 3In the Connection Properties section, enter values for the following properties:
  5. Property
    Description
    AccessKeyID
    The AWS access key ID of the requester.
    Secret Access Key
    The AWS secret key of the requester.
    Region
    The region where a new bucket must be located. For example: us-east1
  6. 4On the Event Targets page, in the Amazon S3 Settings section, enter the bucket name that you created.
  7. 5Save and publish the connection.