1In Application Integration, click New.
2In the New Asset dialog box, select Processes > Process and then click Create.
Process Designer opens with a process template.
3Click the Start step.
The process properties section appears.
4Select the General tab and enter the following properties:
- aClick Select next to Location and then browse to and select the Tutorials > Order Management folder.
- bIn the Description field, enter Use the email service to send emails.
5Select the Start tab and enter the following properties:
- aIn the Binding list, select HTTP/SOAP.
- bUnder Allowed Roles, select Allow Anonymous Access.
- cIn the Runtime Environment list, select Cloud Server.
The Binding property defines how a process is invoked.
Do not change the Applies To or Run As fields in the Start tab.
6Select the Input Fields tab and add the following fields:
Name | Type | Required |
|---|---|---|
EmailAddress | Text | Yes |
Message | Text | Yes |
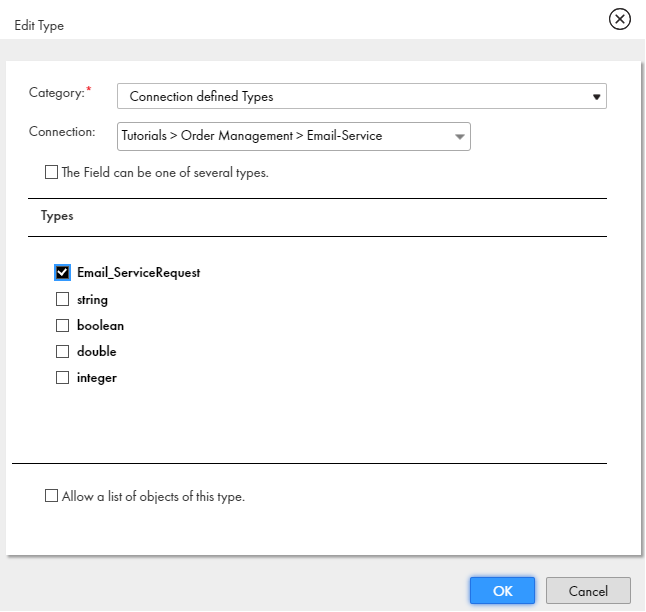
7Select the Temporary Fields tab and add a field with the following properties:
- - Name: InventoryDetails
- - Type: More Types > Connection Defined Types > Tutorials > Order Management > Email-Service > Email_ServiceRequest.

8Select the Advanced tab and set the Tracing Level to Verbose.
When the Tracing Level is Verbose, the Application Integration Console logs all steps. This is useful if you need to debug the process.
9Select the General tab and enter Send Email in the Name field.