1Create a Business 360 FEP connection.
2Create a connection to an analytic application.
3Create a mapping.
4Add a Source transformation, and specify a name and description in the general properties.
5On the Source tab, perform the following steps:
- aIn the Connection field, select the Business 360 FEP connection.
- bIn the Source Type field, select Single Object.
- cIn the Object field, select a source object from which you want to read data.
- dTo view the list of supported business applications, in the left pane, select Home.
- eTo view the list of available assets, select the asset type under an application.
- fTo view the list of custom assets, in the left pane, expand Custom Assets, and select an asset type.
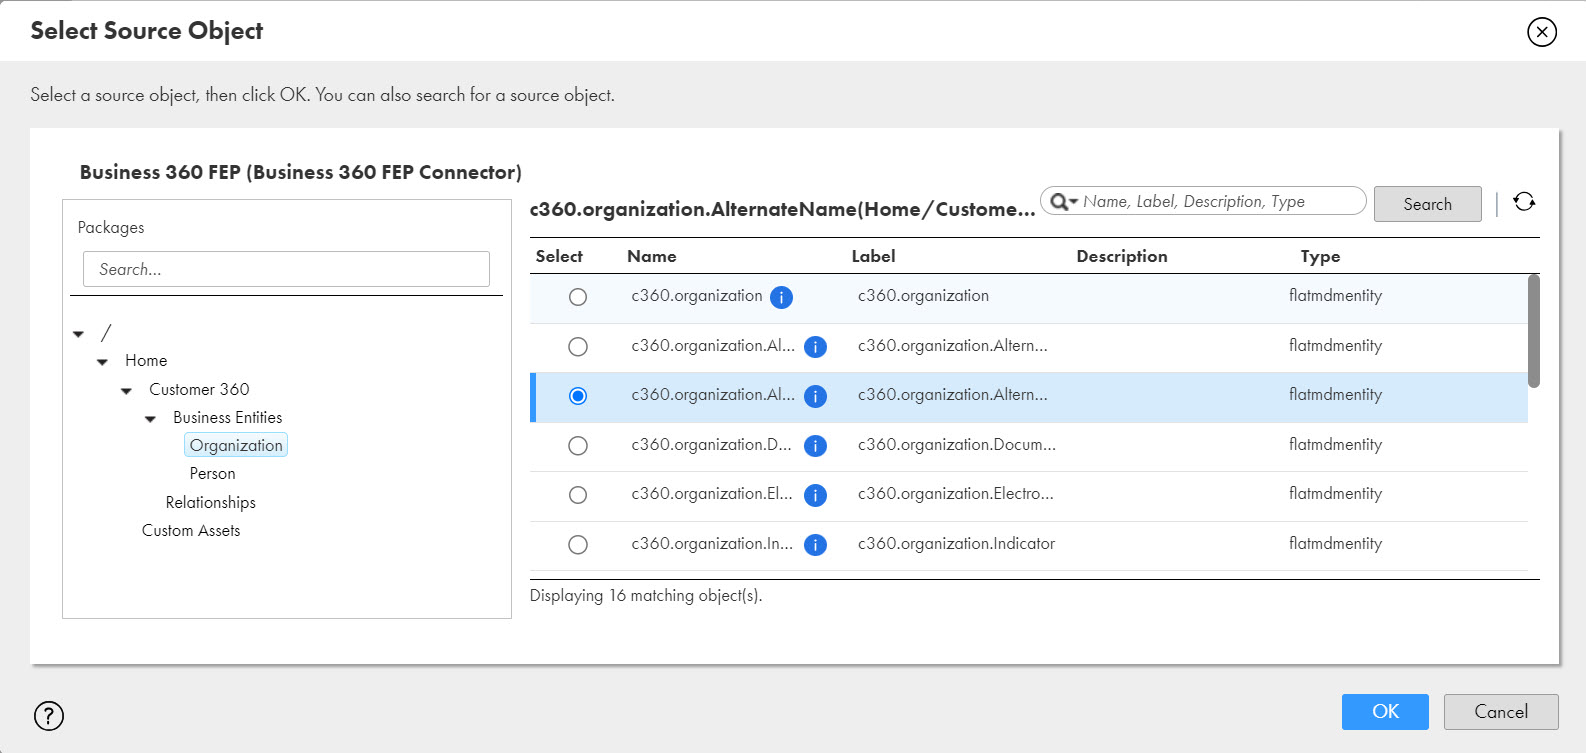
For example, if you select Customer 360 > Business Entities > Organization in the left pane, you can view the root fields and field groups in the right pane from which you can select the required source object.
The following image shows the Alternate Identifier field group as selected object:

The custom assets are grouped based on the asset type.
The list of custom assets appears in the left pane. If you choose a custom business entity, you can view the root fields and field groups of the selected custom business entity in the right pane.
6On the Fields tab, select the fields that you want to map to the output fields.
Ensure that the name of a field doesn't exceed 48 characters. By default, the mapping adds up to 27 additional characters as suffixes to the names of each field that you map in a hierarchy. If the total character count, including the suffix added to the field names, exceeds 75 characters, you can't export their values using an egress job. If you export their values, the egress job fails. The mapping doesn't add suffixes to the names of the fields that you map in business entities and relationships.
Note: Business 360 FEP Connector identifies only 1 and 0 as boolean values. When you map source fields that contain boolean values, Business 360 FEP Connector processes them as 1 and 0. Additionally, when you map the date and time fields to the target fields and run the mapping, the Secure Agent host machine time zone appears by default.
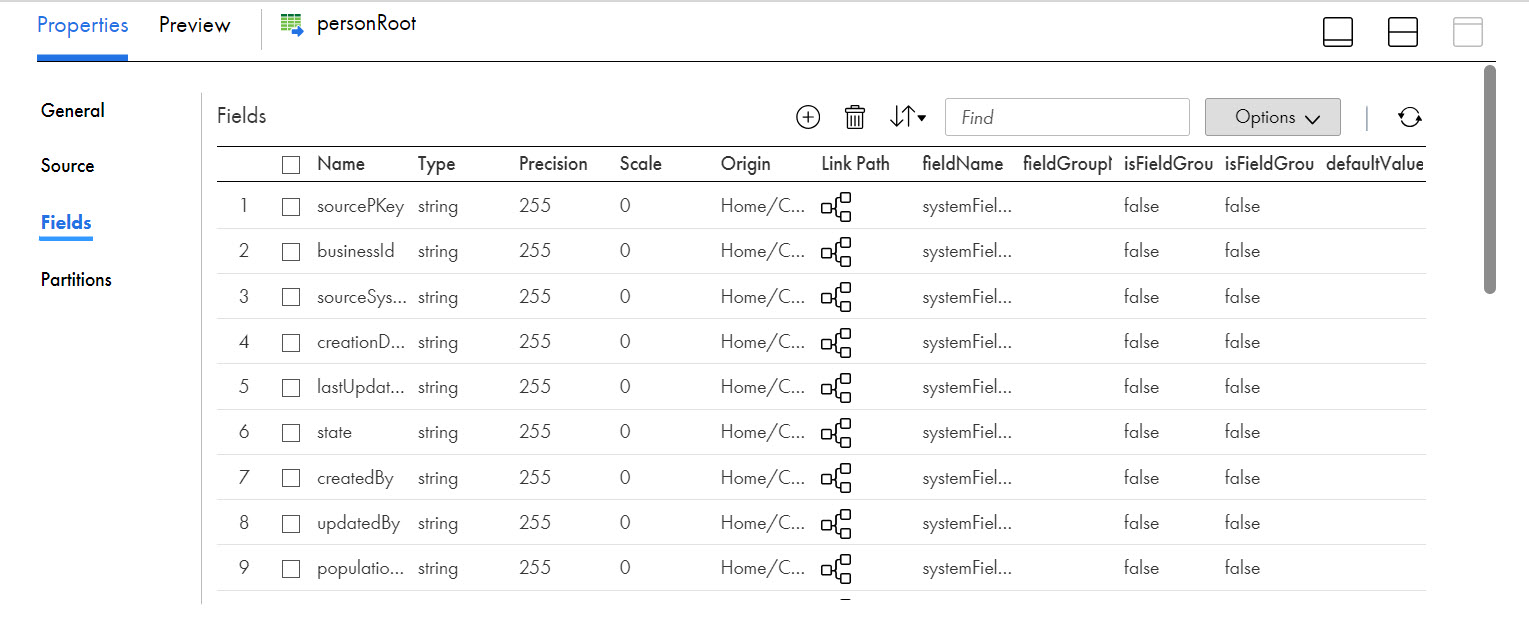
The following image shows the list of fields available for the selected source object:

Additionally, you can map the following system fields if you want to export their values using an egress job:
- - BusinessId. Contains the unique ID of an existing master record.
- - sourceLastUpdate. Contains the last updated date of a root field or field group.
- - matchMergeState. Contains the match and merge status of a source record.
- - populationName. Contains the name of populations. You can specify multiple populations for the records that you ingress. For more information about population, see Default Population in the Business 360 Console help.
- - validationStatus. Contains the validation statuses of records, such as passed, failed, and pending.
Note: Before you include the system fields on the Fields tab, review and upgrade the business applications to the latest version in Business 360 Console. For more information about reviewing and upgrading the business applications in Business 360 Console, see Upgrade in the Business 360 Console help.
7On the Partitions tab, select Fixed.
Note: You can't use the Key Range partitioning method to optimize the performance of the mappings in the taskflow. For more information about fixed partitions, see Partitions in the Data Integration help.
8Add a Target transformation, and specify the name and description in the general properties.
9Select the connection to the analytical application.
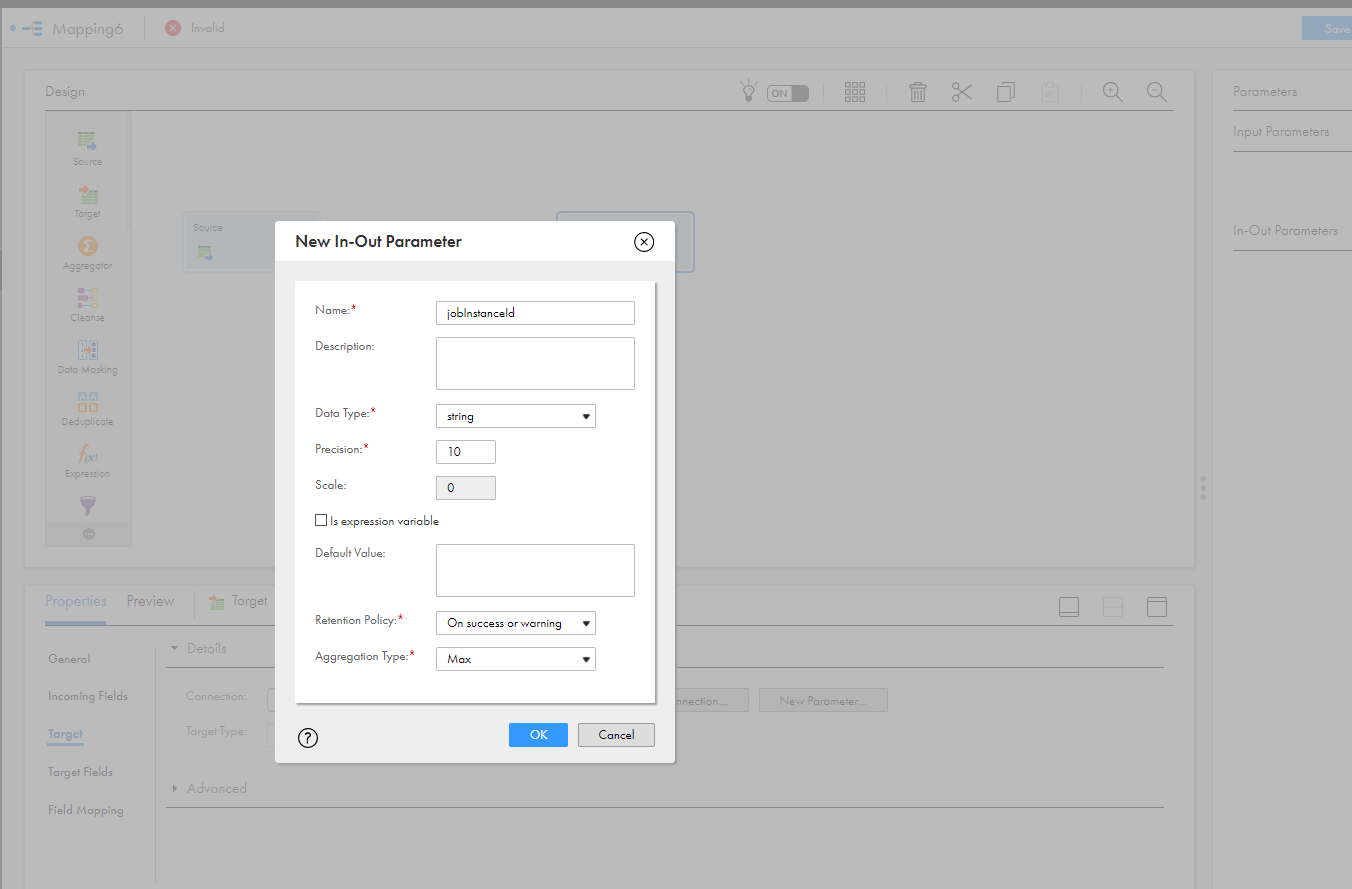
10Go to Target > Parameters Panel > Input-Output Parameters, and create the jobInstanceId parameter.
The input-output parameter is internally mapped to the job instance ID. When you run an ingress or egress job, Cloud Application Integration process passes the job instance ID to the input-output parameter in Cloud Data Integration. Based on the defined taskflows, the job runs. If you don't define the input-output parameter for the Target transformation in Cloud Data Integration, the job fails.
The following image shows the input-output parameter dialog box:

11Draw links to connect the Source transformation to the Target transformation.
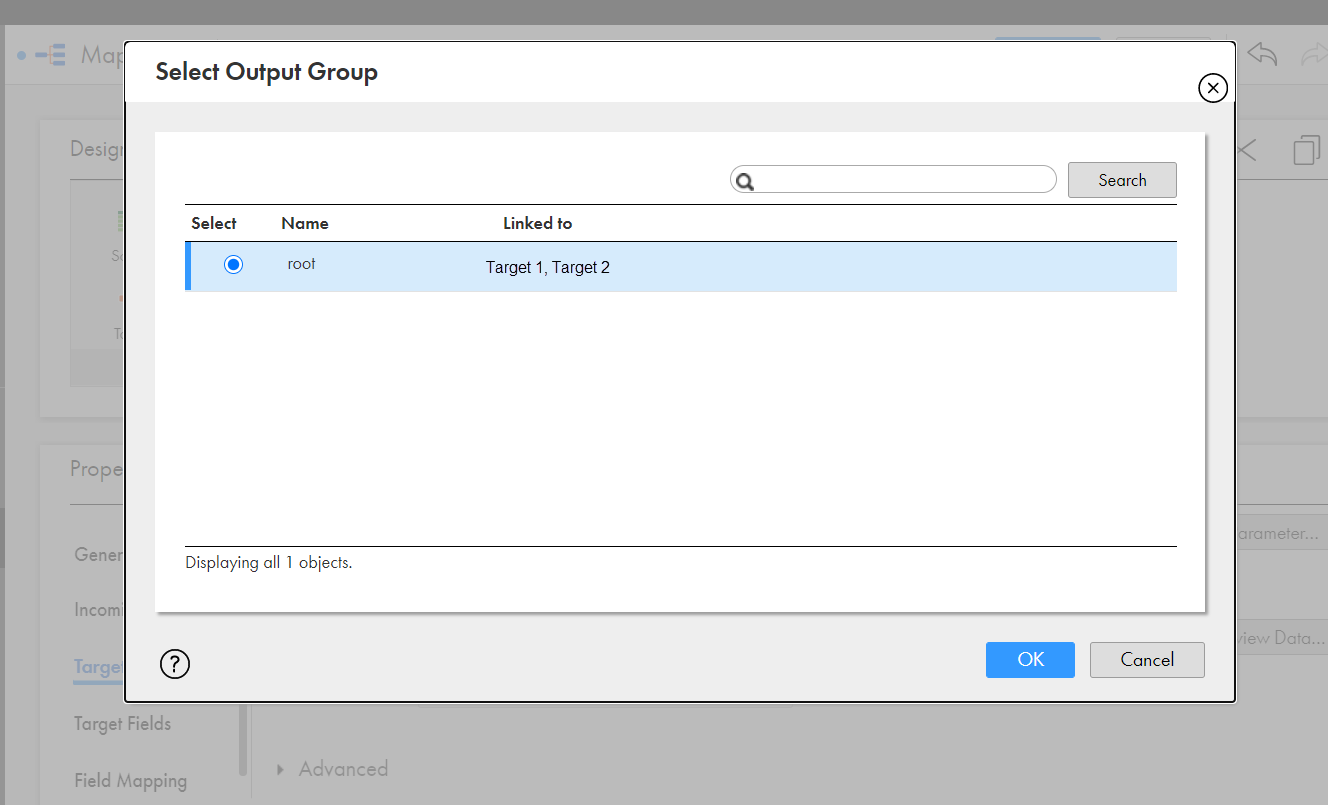
The following image shows the Select Output Group dialog box where you select the output group to write data to the target:

Note: You cannot modify the targets from the mapped output groups. Instead, you can delink the source from the target and relink.
12Save the mapping.