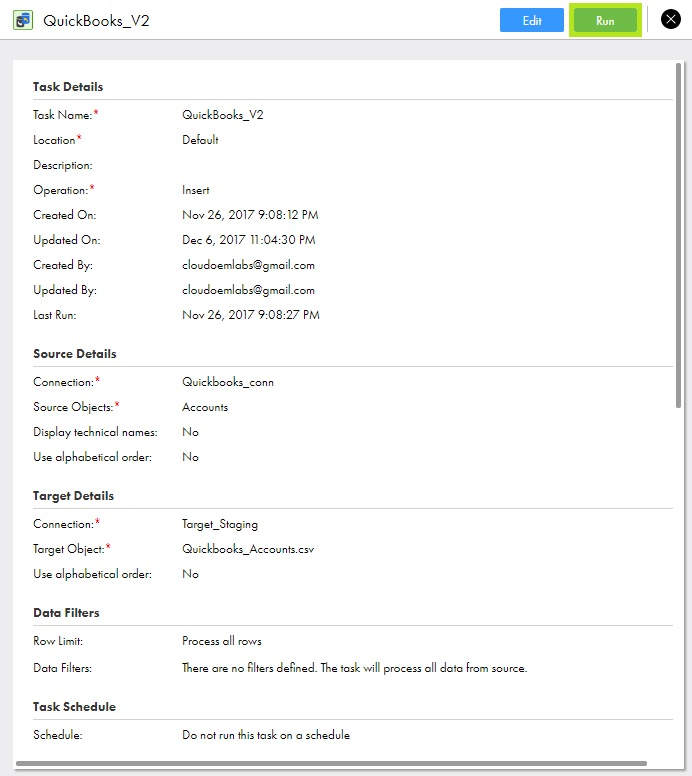
1Click Data Integration > New > Tasks. Select Synchronization Task and click Create.
The Definition tab appears.
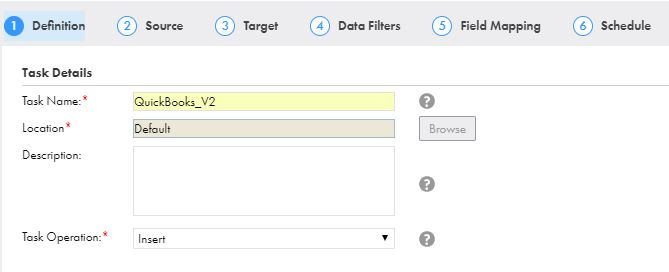
2Enter the Task Name, provide a Description and select the Task Operation Insert.
3Click Next.
The Source tab appears.
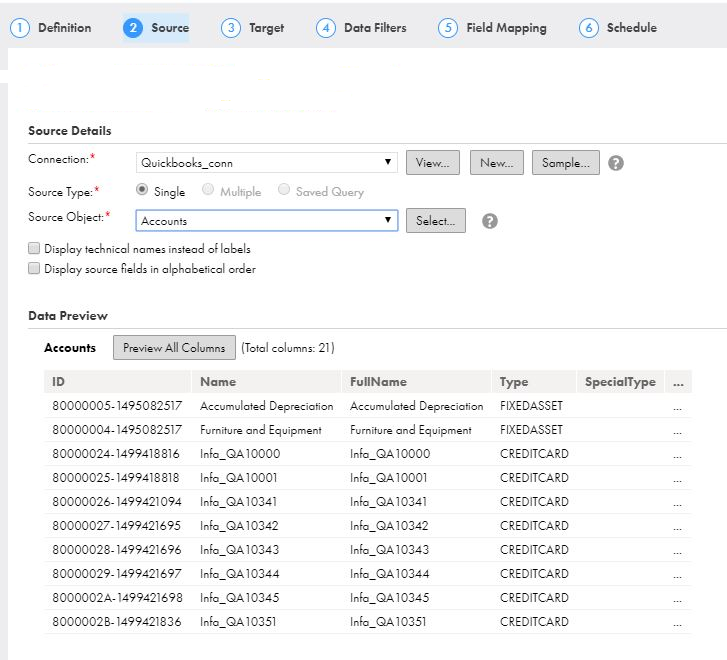
4Select the source Connection, Source Type and Source Objectto be used for the task.
5Click Next.
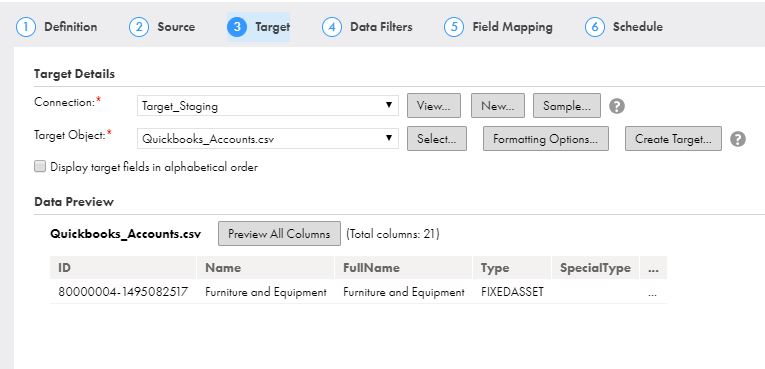
The Target tab appears.
6Select the target Connection and Target Object required for the task.
7Click Next.
The Data Filters tab appears.
8By default, Process all rows is chosen.
For more information, see Data Filters
9Click Next.
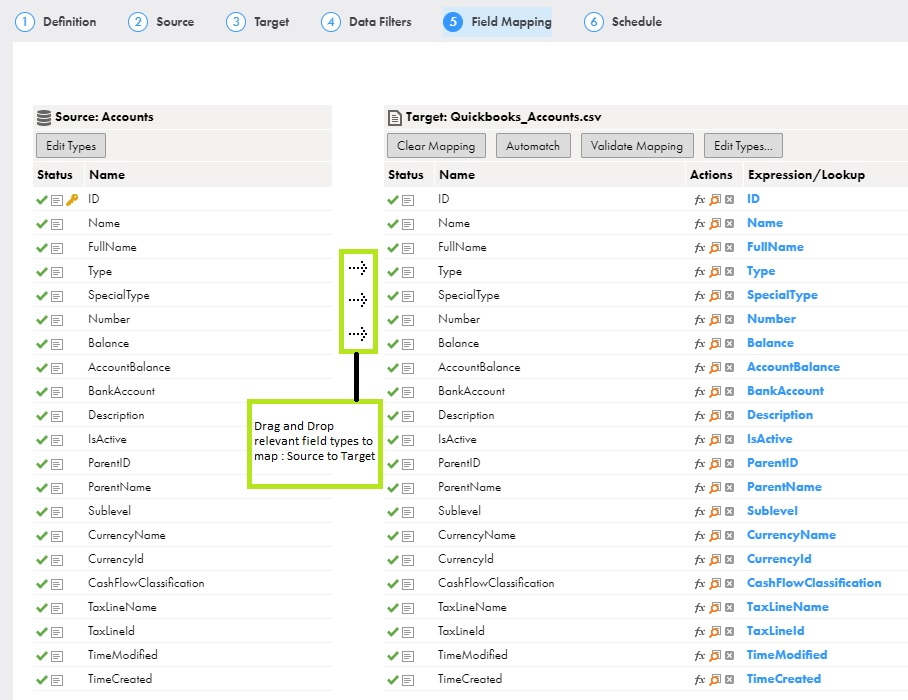
The Field Mapping tab appears.
10Map the source fields to target fields accordingly.
11Click Next.
The Schedule tab appears.
12Schedule the task if needed, and then save the task.
13If you do not want to schedule the task, click Run.
