1In Data Integration, click New > Tasks > Synchronization Task.
The Synchronization page appears.

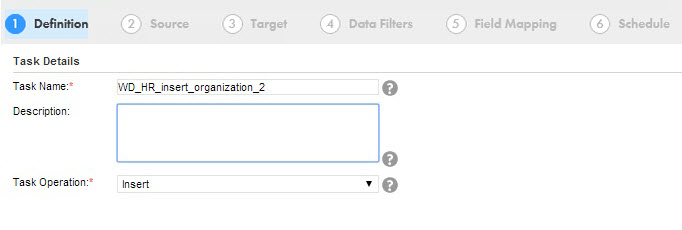
2Specify the Task Name, provide a Description and select the Task Operation Insert.
3Click Next.
The Source tab appears.

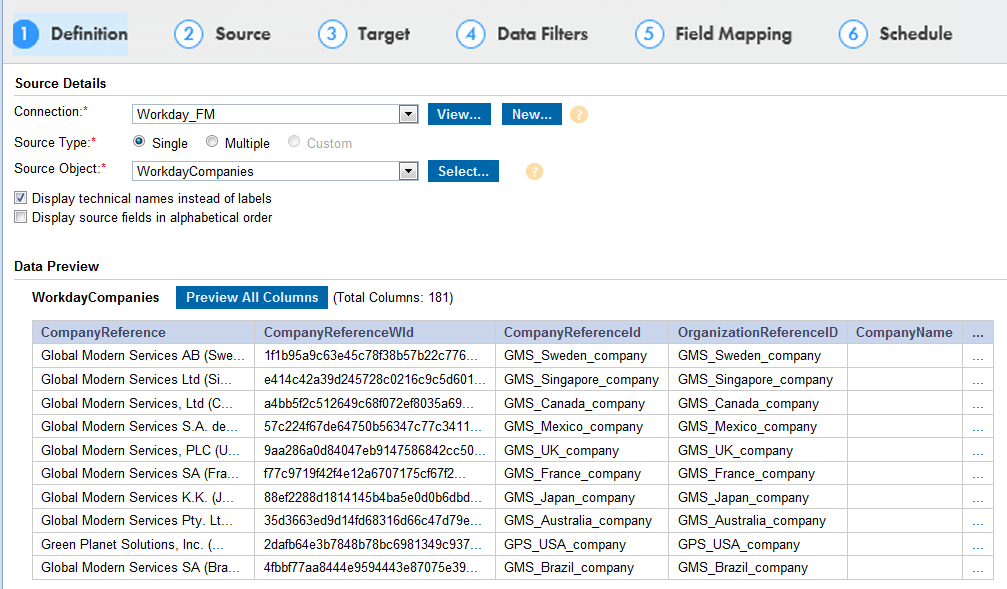
4Select the source Connection, Source Type and Source Object to be used for the task.
5Click Next.
The Target tab appears.
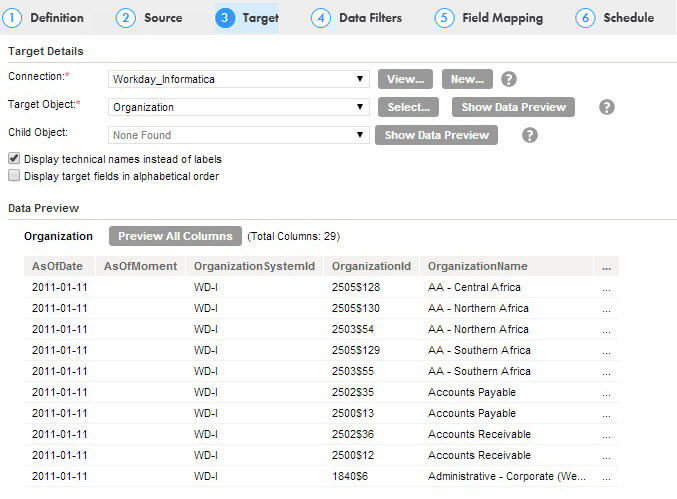
6Select the target Connection and Target Object required for the task.

7Click Next.
8On the Data Filters tab, by default, Process all rows is chosen. To assign filters to fetch specific data, see Data Filters.
9Click Next.
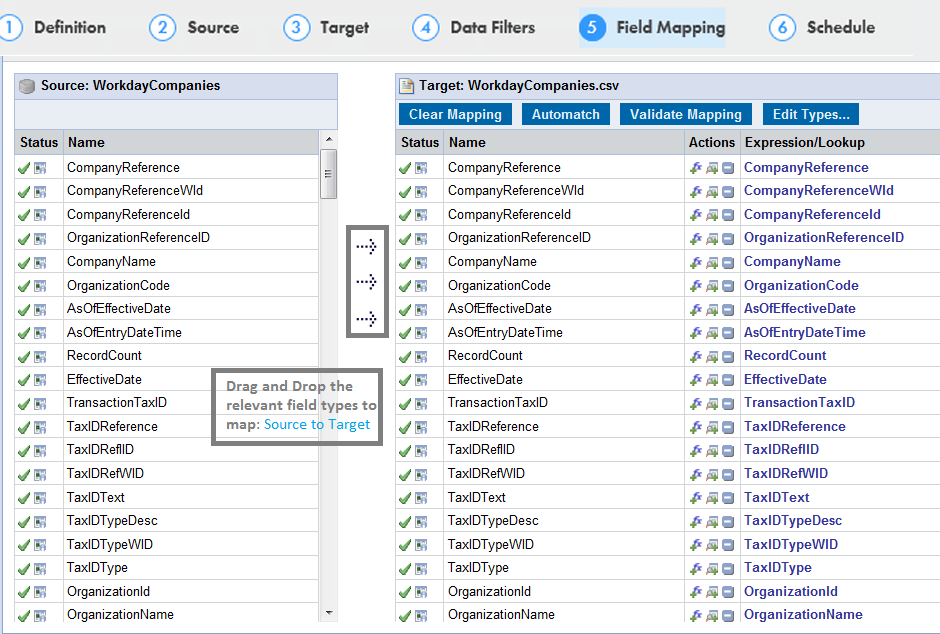
10On the Field Mapping tab, map source fields to target fields accordingly.

- aYou can also configure the field size as per your requirements. To configure the field size, follow the preliminary steps to create a synchronizationtask. On the Field Mapping tab, click Edit Types and edit the scale and precision.
11Click Next.
The Schedule tab appears.
12In the Advanced Source Properties, provide maximum page size and maximum pages values. You can fetch the required number of pages with maximum page size field. When you want to get a certain number of records for each page, you can provide value to maximum page field.
13On the Schedule tab, you can schedule the task as per the requirement and save.
14Click Save.
15From the Explore page, select the configured task, select Actions, and then run the task.
In Monitor, you can monitor the status of the task.