Create new dashboards, clone and modify existing ones, and share the dashboards that you have created. You can also configure a specific dashboard as your default dashboard and delete dashboards.
Browse your dashboards
You can view all the dashboards that you can access from the dashboard menu on the Home page or from the Manage Dashboards page.
Browse from Home
On the Home page, open the dashboard menu to view the dashboards you can access. The dashboard menu shows a list of dashboards along with their descriptions. You can view dashboards that you create or clone, shared dashboards, role- or org-default dashboards, and system-generated dashboards.
The following image shows My Dashboard:
Browse from Manage dashboards
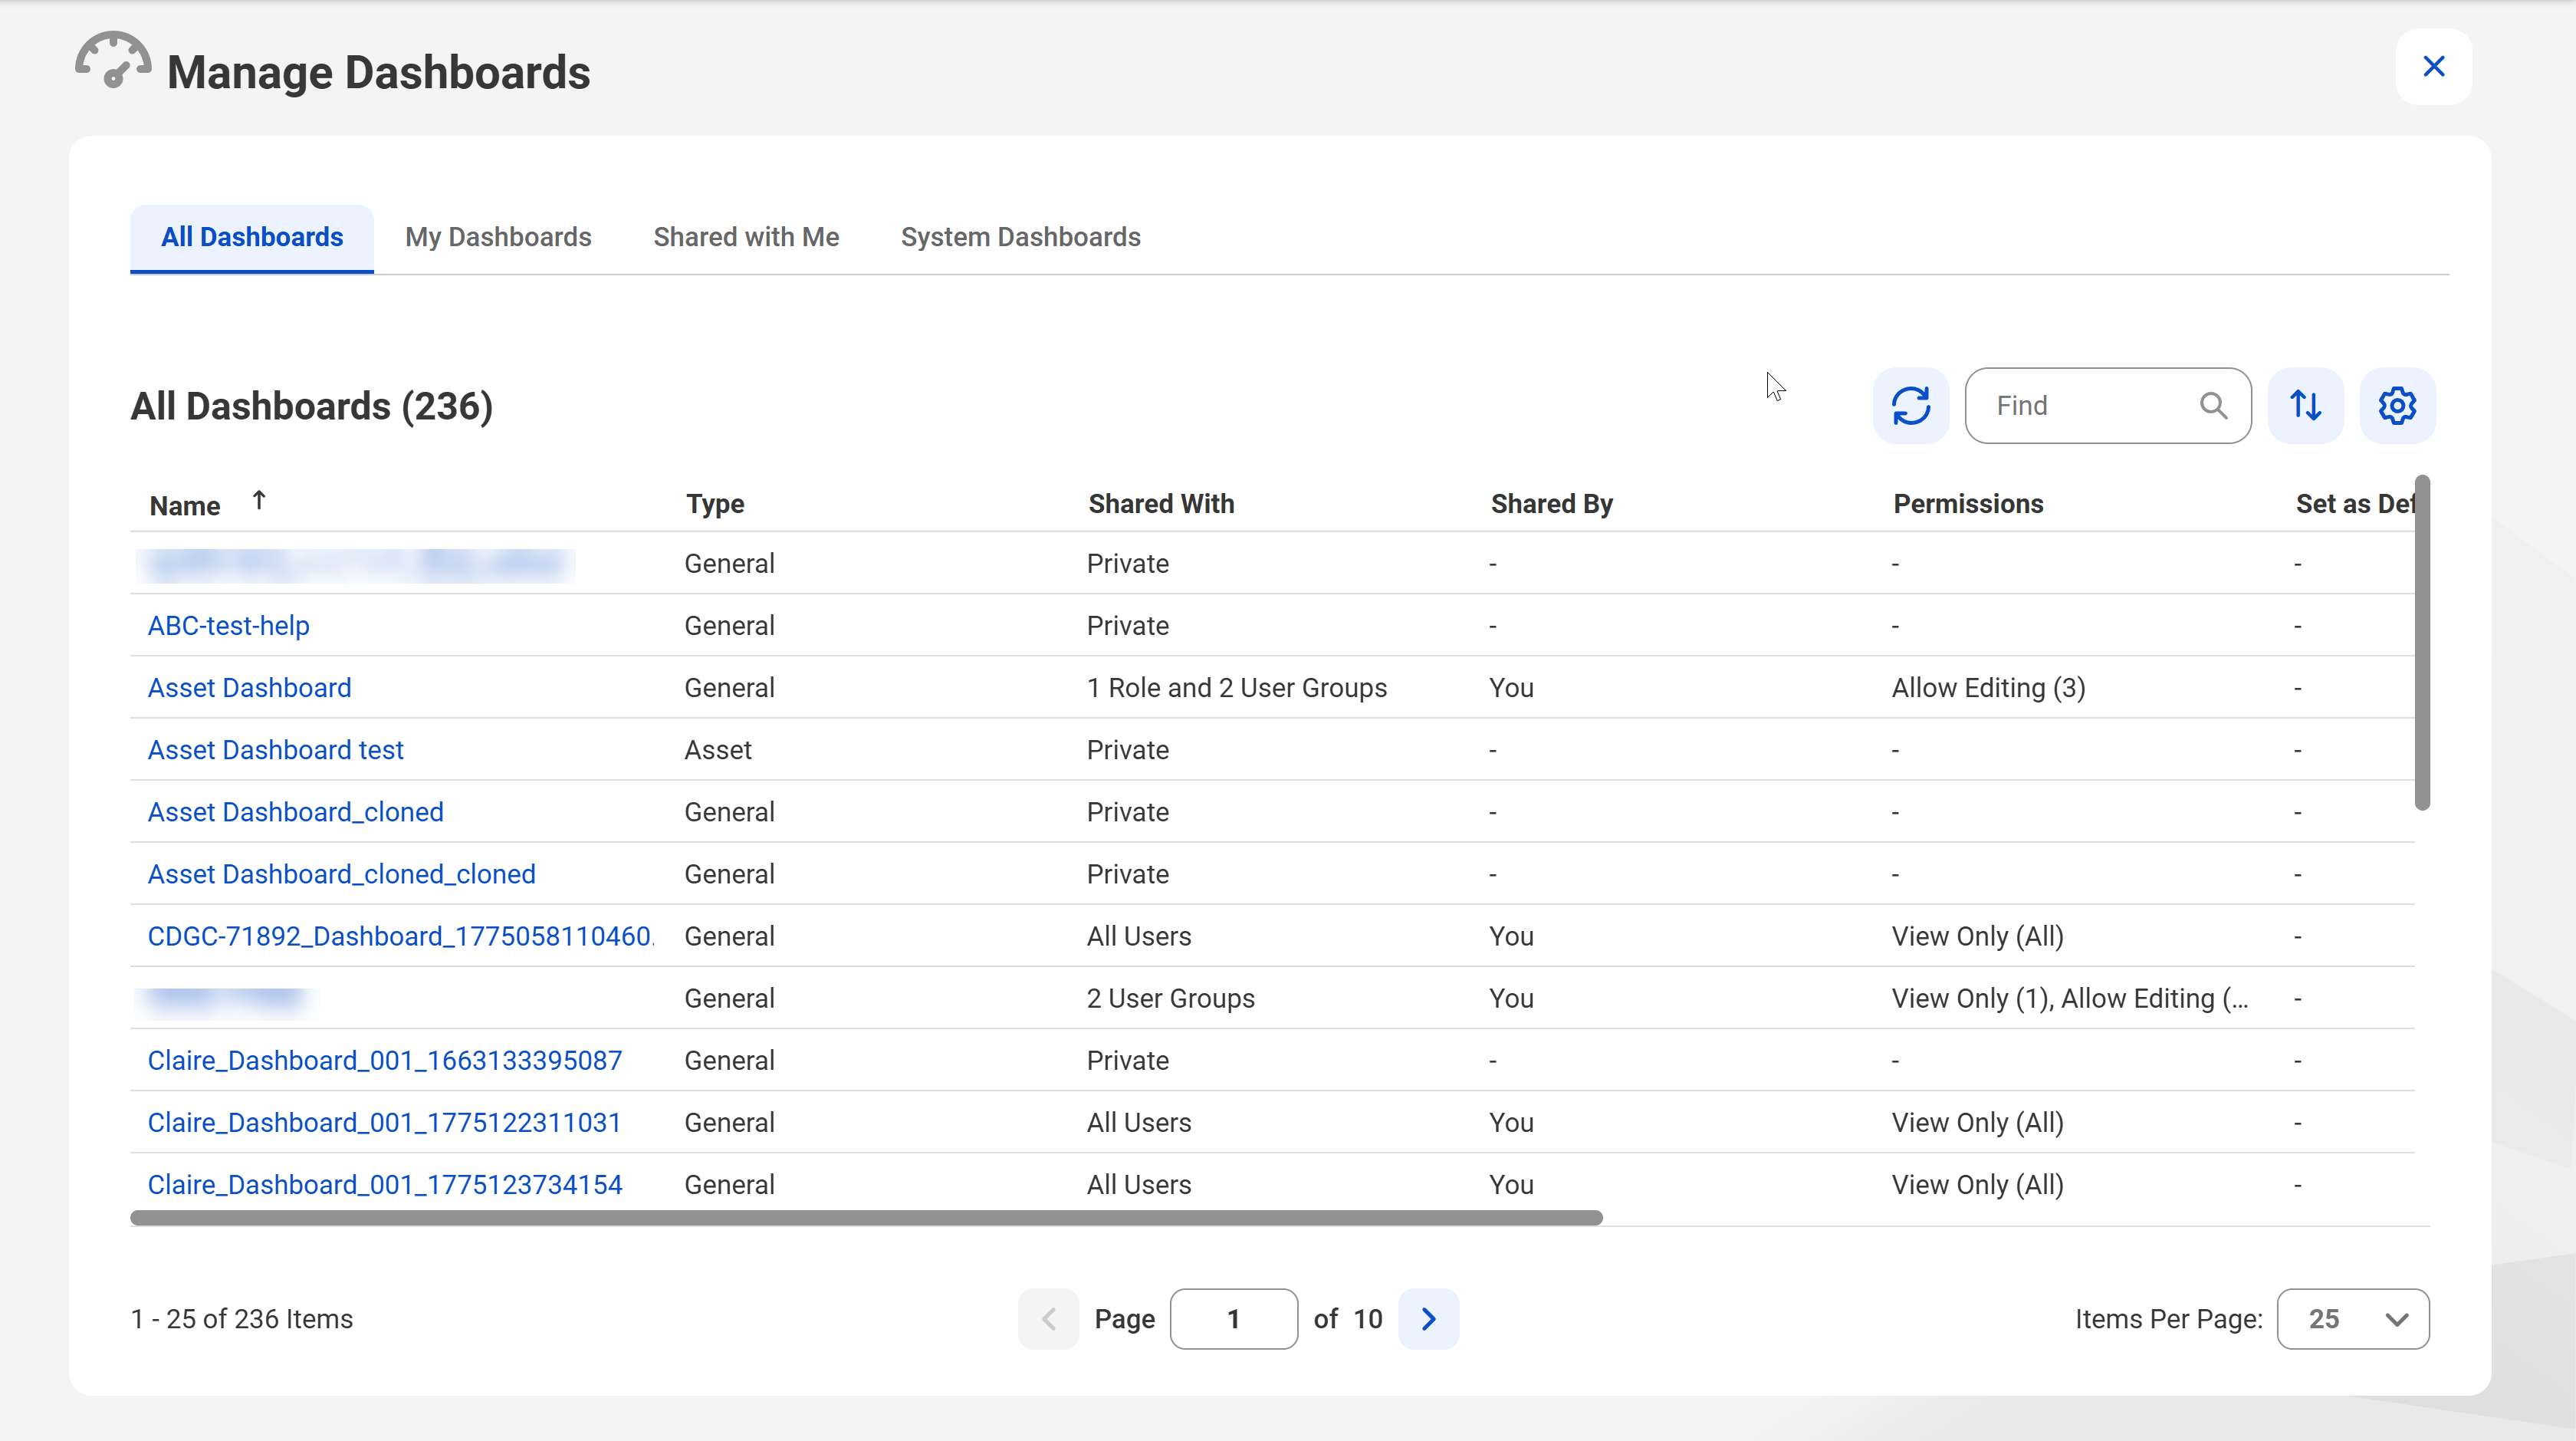
Each tab of the Manage Dashboards page shows you a grid where you can view additional dashboard details such as dashboard permissions, type, sharing status, and ownership. To navigate to the Manage Dashboards page, click the action menu on a dashboard and select Manage Dashboards.
Dashboards on the Manage Dashboards page are categorized under the following tabs:
- All Dashboards. Dashboards that you have access to.
- My Dashboards. Dashboards that you have created or cloned.
- Shared with Me. Dashboards that are shared with you by your organization or by people in your organization.
- System Dashboards. Dashboards that are generated by Data Governance and Catalog, such as My Dashboard and dashboards for usage analytics.
Note:
You cannot delete system-generated dashboards.
In the grid of each tab, you can find dashboards by their names and sort the dashboards based on name, type, and update date. Additionally, you can hide or show the Description column and change, save, or reset to the default layout of the grid. You can also perform additional activities such as control dashboard sharing, delete dashboards, copy a dashboard URL, set a default dashboard, and transfer dashboard ownership.
The following image shows the Manage Dashboards page:
Building dashboards
You can create a dashboard and add widgets to display summaries of different assets and operations. You can also clone a dashboard to create a copy of a dashboard and its widgets.
1On the Home page, click the action menu icon.
The action menu appears.
2Select New Dashboard.
3In the New Dashboard dialog box, enter a name for the dashboard and review the dashboard properties.
The following table describes the properties of the New Dashboard dialog box:
Property
Description
Name
Required. Title of the dashboard as you want it to appear on the home page.
The field can contain a maximum of 50 characters.
Description
Optional. Description of the dashboard.
The field can contain a maximum of 500 characters.
Set as Default
Optional. Sets the new dashboard as your default dashboard.
When you set a dashboard as default, it takes precedence over other dashboards set as default for your user role or for your organization.
4Click Create.
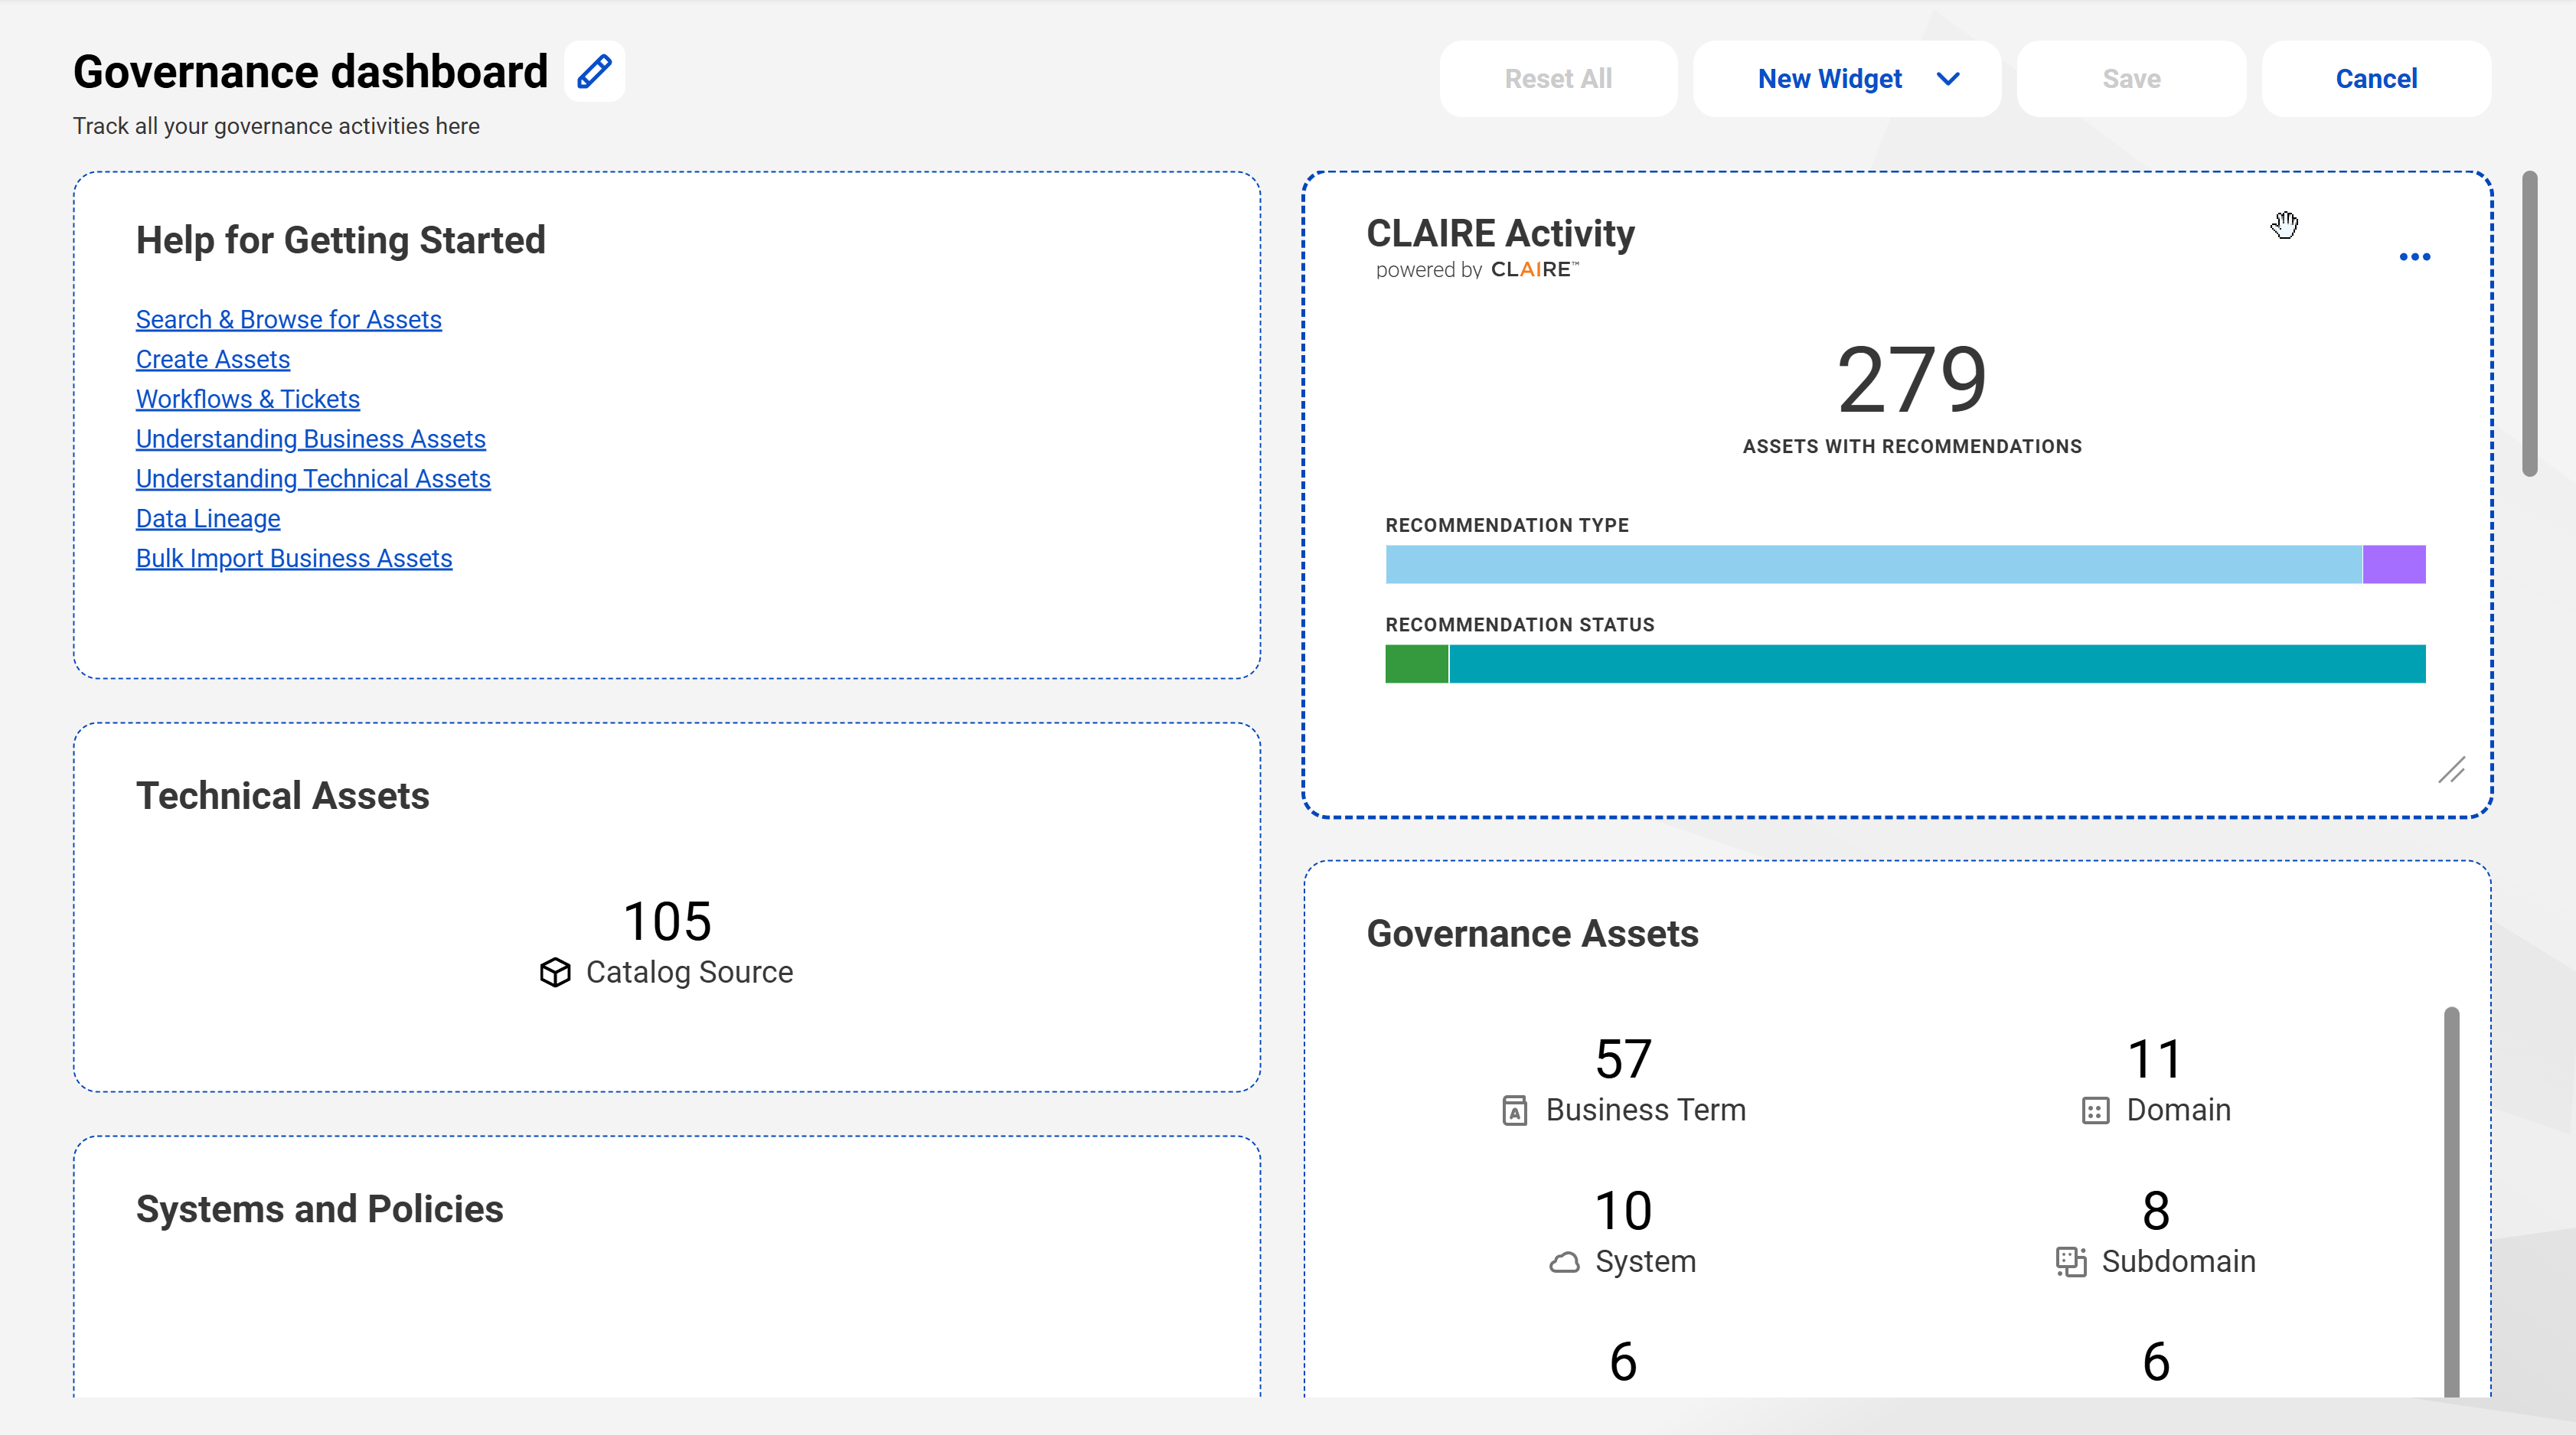
5On the edit dashboard page, click Save to publish your dashboard.
You can also click the Add Widget button to add widgets and customize the dashboard layout.
You can create a duplicate of an existing dashboard and copy all its widgets and the layout. Open to the dashboard you want to clone, click the action menu, and select Clone This Dashboard.
Note:
As the creator of the dashboard, you don't need any additional permission or privilege to modify or delete the dashboard.
Modifying dashboards
After you create a dashboard, you can add widgets and modify the dashboard name and description.
Note:
You cannot modify a system-generated dashboard. You can clone a dashboard and edit a cloned dashboard.
1On a dashboard, click the action menu icon.
The action menu appears.
2Select Edit Dashboard.
The dashboard appears in edit mode.
3To add a widget to the dashboard, click New Widget.
You can also change the dashboard name and description.
You can share a dashboard that you own with others in your organization. Users can view or edit the dashboard based on the permissions that you assign. You can directly share a dashboard using a URL if the recipients have the permissions to view or edit the dashboard.
1On the Home page, open the dashboard that you want to share.
2Click the action menu and select Manage Sharing.
3In the Manage Sharing dialog box, select one of the following options:
Field
Description
Private
Remove the dashboard access for everyone with whom you shared the dashboard earlier.
Share with specific users, user groups and roles
Share the dashboard with one or more users, user groups, and user roles, and assign them permissions to view or edit the dashboard.
Share with all users
Share the dashboard with all users in the organization and assign them permissions to view or edit the dashboard.
4Add users, user groups, or user roles from the list to share the dashboard, and click Add.
5In the Permissions column, specify the permission that you want to assign to the recipients.
6Optionally, when you share the dashboard with user roles, you can select the Set as Default Dashboard check box to set it as the default dashboard in the Home page of the recipients.
The Set as Default Dashboard check box appears if your organization administrator grants the Manage Access Control feature privilege to your user role in Administrator.
7To share the saved searches for the dashboard with other users in the organization and assign them permissions to view the searches, select the Share saved searches used in widgets check box.
8Click Share.
Alternatively, you can share a dashboard from the Manage Dashboards page. Click the action menu and select Manage Dashboards. On the Manage Dashboards page, click the action menu of a dashboard and then click Manage Sharing. Click the Copy Dashboard URL option to copy the URL of the dashboard and open it directly in the browser.
Note:
The unique dashboard URL is available from the browser URL.
Transferring dashboards
Dashboards of deleted or inactive users continue to exist in Data Governance and Catalog. If the user shared the dashboard with you, you can transfer dashboard ownership from the Manage dashboards page.
To transfer the ownership of a dashboard, your administrator must assign the Manage Access Control privilege for your user role through access policies in Metadata Command Center.
1On the shared dashboard, click the action menu icon.
The action menu appears.
2Select Manage Dashboards.
3On the Manage Dashboards page, select the Shared with Me tab.
4On the dashboard row you want to transfer, click the action menu icon.
The action menu appears.
5Click Assign Owner on the action menu.
6In the Assign Owner dialog box, select a user. You can also assign the dashboard to yourself.
7Click Assign to transfer the dashboard.
Deleting dashboards
You can delete dashboards that you create or those that you own.
1On the dashboard you want to delete, click the action menu icon.
The action menu appears.
2Select Manage Dashboard from the action menu.
Alternatively, if you are on the dashboard you want to delete, click Delete Dashboard and click Delete to delete the dashboard.
3On the Manage Dashboard page, click My Dashboards.
The My Dashboard grid appears.
4One the dashboard row you want to delete, click the action menu icon.