1In the navigation bar on the left, click New.
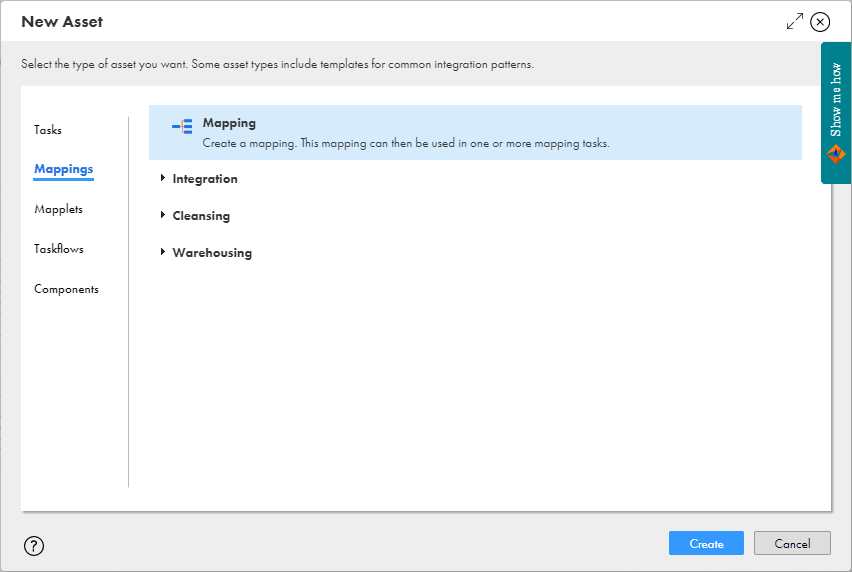
2In the New Asset dialog box, click Mappings, and then select Mapping.
The following image shows the New Asset dialog box with the Mapping option selected:

3Click Create.
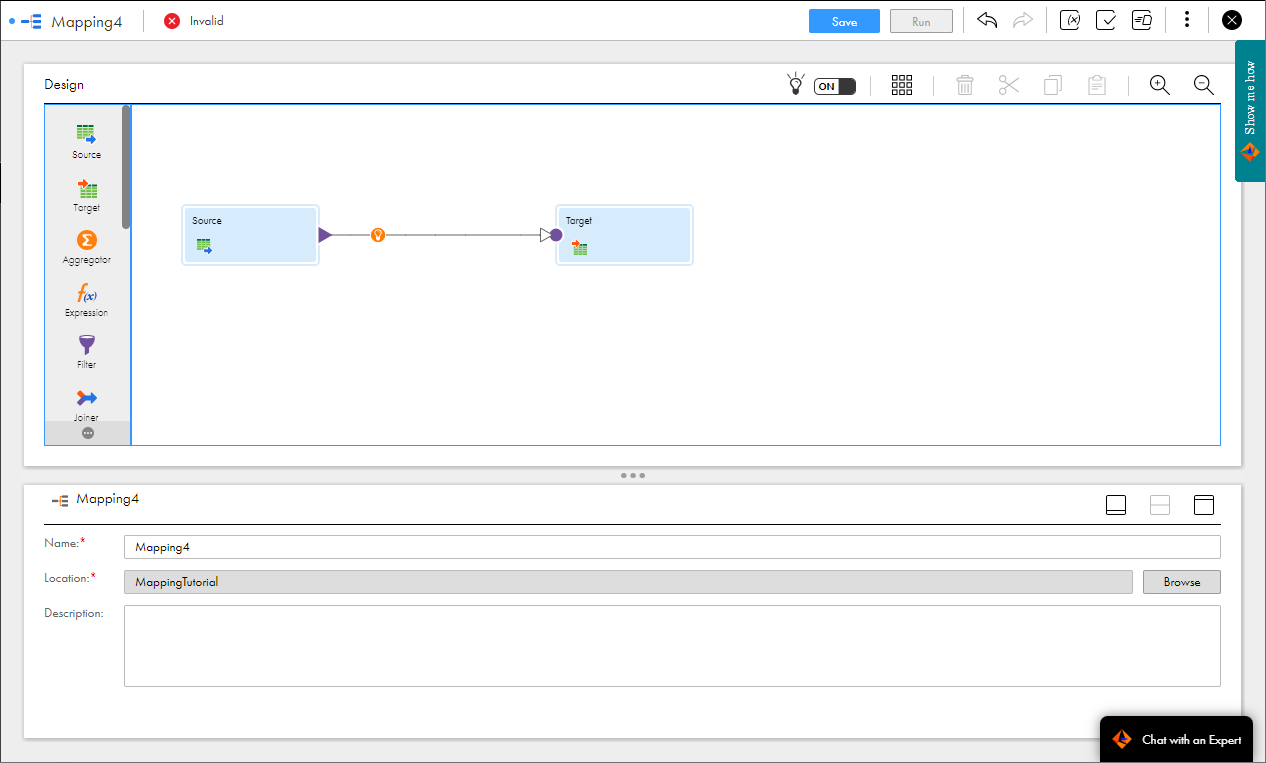
The Mapping Designer appears with a new mapping displayed in the mapping canvas.
The following image shows a new mapping in the Mapping Designer:

4In the Properties panel, enter m_CustomersByCountry for the mapping name.
You can use underscores in mapping and transformation names, but not other special characters.
Tip: Informatica recommends that you use a standard naming convention for objects. For example, you might begin mapping names with m_, Source transformation names with src_, parameter names with p_, and so on. Also, use names that explain the purpose of the object, for example, flt_FilterByCountry. A standard naming convention is helpful when you are working with large, complex mappings so that you can easily identify the type and purpose of each object.

5To select a location for the mapping, browse to the folder where you want to store the mapping, or accept the default location.
If the Explore page is currently active and a project or folder is selected, the default location for the asset is the selected project or folder. Otherwise, the default location is the location of the most recently saved asset.