Creating a Filter
You can create a filter so that you can make a subset of the original data source that meets the filter criteria.
1. Open a profile.
2. In the summary view, click Actions > Edit Profile.
The Profile wizard appears.
3. Click Specify Rules and Filters.
4. In the Filters pane, click Actions > Add a Filter.
The New Filter dialog box appears.
5. Create a simple, advanced, or an SQL filter.
Note: For a simple or advanced filter on a date column, provide the condition in the YYYY/MM/DD HH:MM:SS format.
The Data Preview pane displays the subset of the original data source that meets the filter criteria.
6. Click OK.
The Specify Rules and Filters screen appears with the filter in the Filters pane.
Creating a Simple Filter
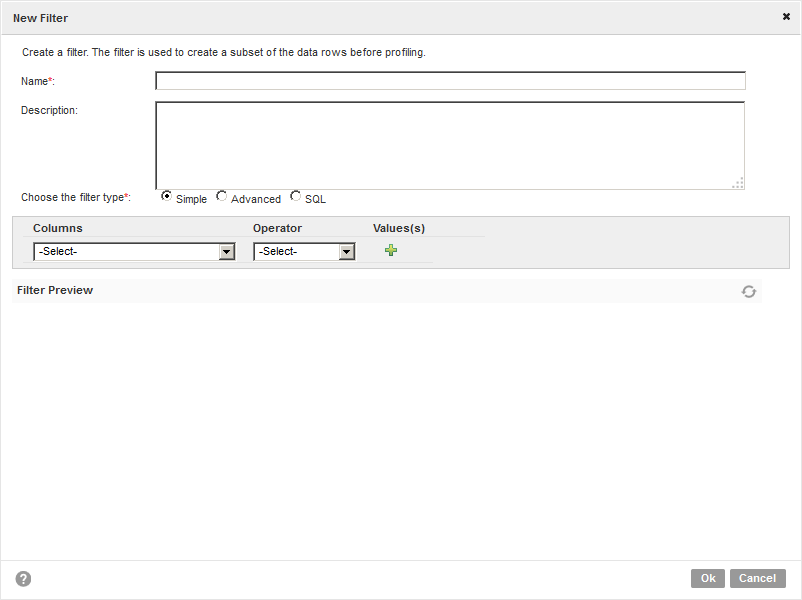
You can create a simple filter with conditional operators, such as =, !=, >, <. Use the filter to create a subset of the original data source.
1. In the New Filter dialog box, click Simple.
The following image shows the options that you can use to create a simple filter in the
New Filter dialog box:

2. Enter a name and an optional description.
3. Select a column.
4. Select a conditional operator.
5. Enter a value.
6. Optionally, click the plus (+) icon to add more filters.
7. Click OK.
The Specify Rules and Filters page appears with the filter in the Filters pane.
Creating an Advanced Filter
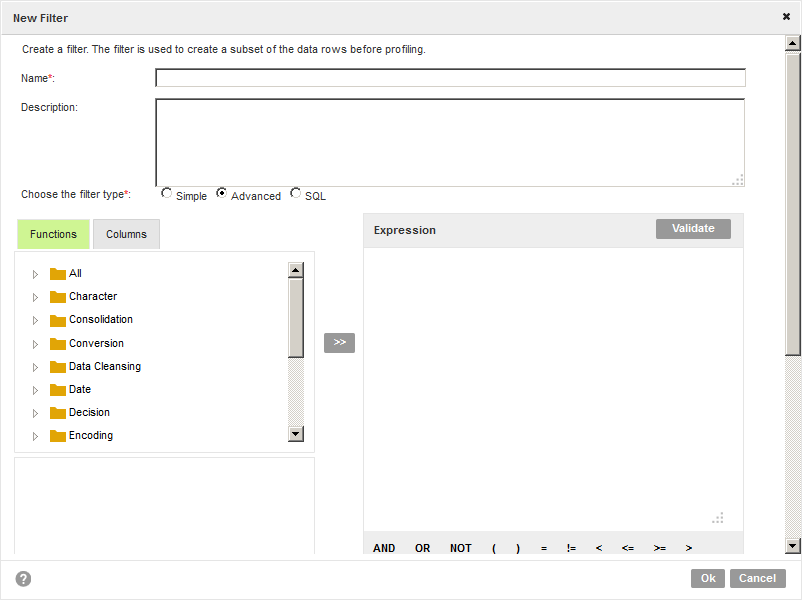
You can create an advanced filter with expressions, such as AND, OR, and NOT to make a subset of the original data source.
1. In the New Filter dialog box, click Advanced.
The following image shows the advanced filter options in the
New Filter dialog box.

2. Enter a name and an optional description for the advanced filter.
3. You can create an advanced filter with the Functions panel or Columns panel.
- - In the Functions panel, select a function category, and click the right arrow (>>) button.
In the dialog box, specify the parameters and click OK. The function along with the columns and values appears in the Expression panel.
- - In the Columns panel, select a column, and click the right arrow (>>) button. The column appears in the Expression panel.
Add functions, expressions, and values to create an advanced filter.
4. To verify the advanced filter, click Validate.
5. Click OK.
The Specify Rules and Filters screen appears with the filter in the Filters pane.
Creating an SQL Filter
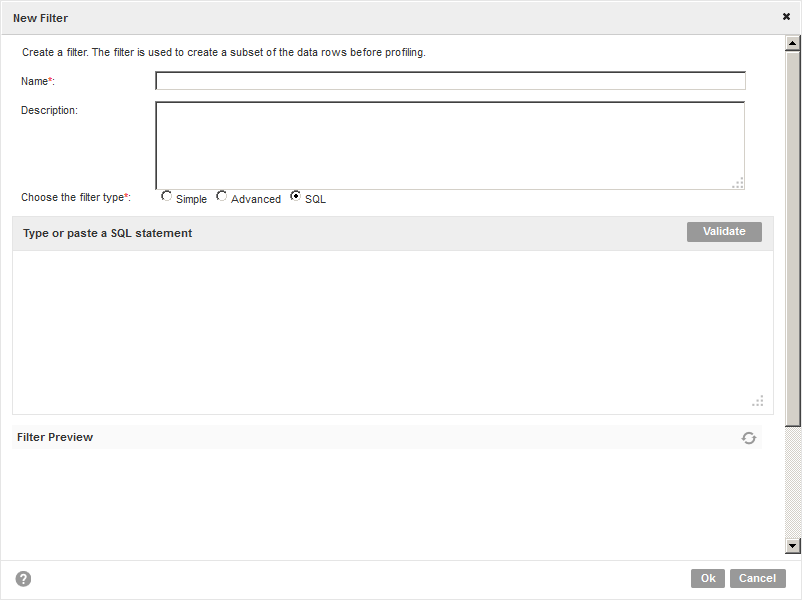
You can create an SQL filter with SQL queries. You can create an SQL filter for relational data sources.
1. In the New Filter dialog box, click SQL.
The following image shows the SQL filter options in the
New Filter dialog box:

2. Enter a name and an optional description for the SQL filter.
3. In the text box, type in or paste an SQL query.
4. Click Validate to verify the SQL query.
5. Click OK.
The Specify Rules and Filters page appears with the SQL filter in the Filters pane.


