1. In the Object Explorer view, double-click the logical data object that you want to add the mapping to.
The logical data object editor opens.
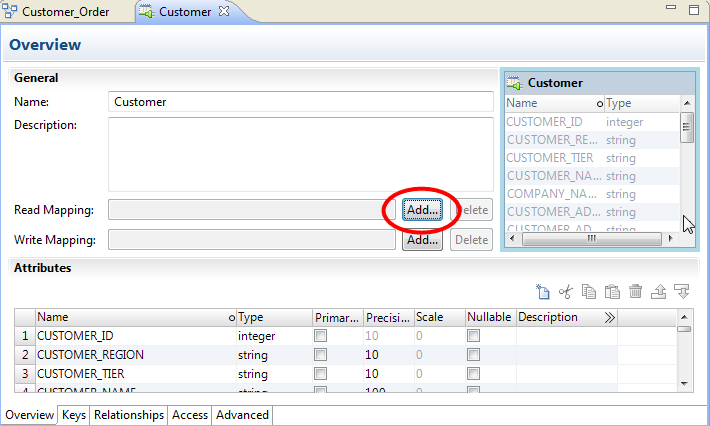
2. On the Overview tab in the General area, click Add to add a read mapping or a write mapping.
The following image shows the Add button:
3. Enter a name for the mapping, and then click Finish.
The editor displays the logical data object as the mapping input or output, based on whether the mapping is a read or write mapping.
4. Link data from a physical data object to the logical data object.
- a. Click the Read Mapping or Write Mapping tab to edit the mapping.
- b. In the Object Explorer view, browse to the physical data object you want to link, and drag the physical data object into the mapping editor palette.
- c. Choose to create a read mapping, write mapping, or lookup mapping.
- d. If you chose to create a read mapping, designate the object access of the read mapping as a related data object or as an independent data object.
- e. Click OK.
The mapping editor palette opens.
The Add to Mapping dialog box opens.
The following image shows the result after a user drags the customer flat file data object to the mapping editor palette and designates it a read mapping.

5. Optionally, add a reusable object to the mapping.
You can add a logical data object or other Model repository object.
- a. Right-click in the mapping editor and select Add Reusable Object.
- b. Select one of the objects from the Model repository, and click OK.
- c. Choose to designate the reusable object a Read mapping, Write mapping, or Lookup mapping.
- d. If you chose to designate the reusable object a Read mapping, designate the object access of the Read mapping as a related data object or as an independent data object.
- e. Click OK.
6. Optionally, add additional objects and transformations to the mapping, and create links between mapping objects, then click the Data Viewer view and run the mapping.
Results appear in the Output section.