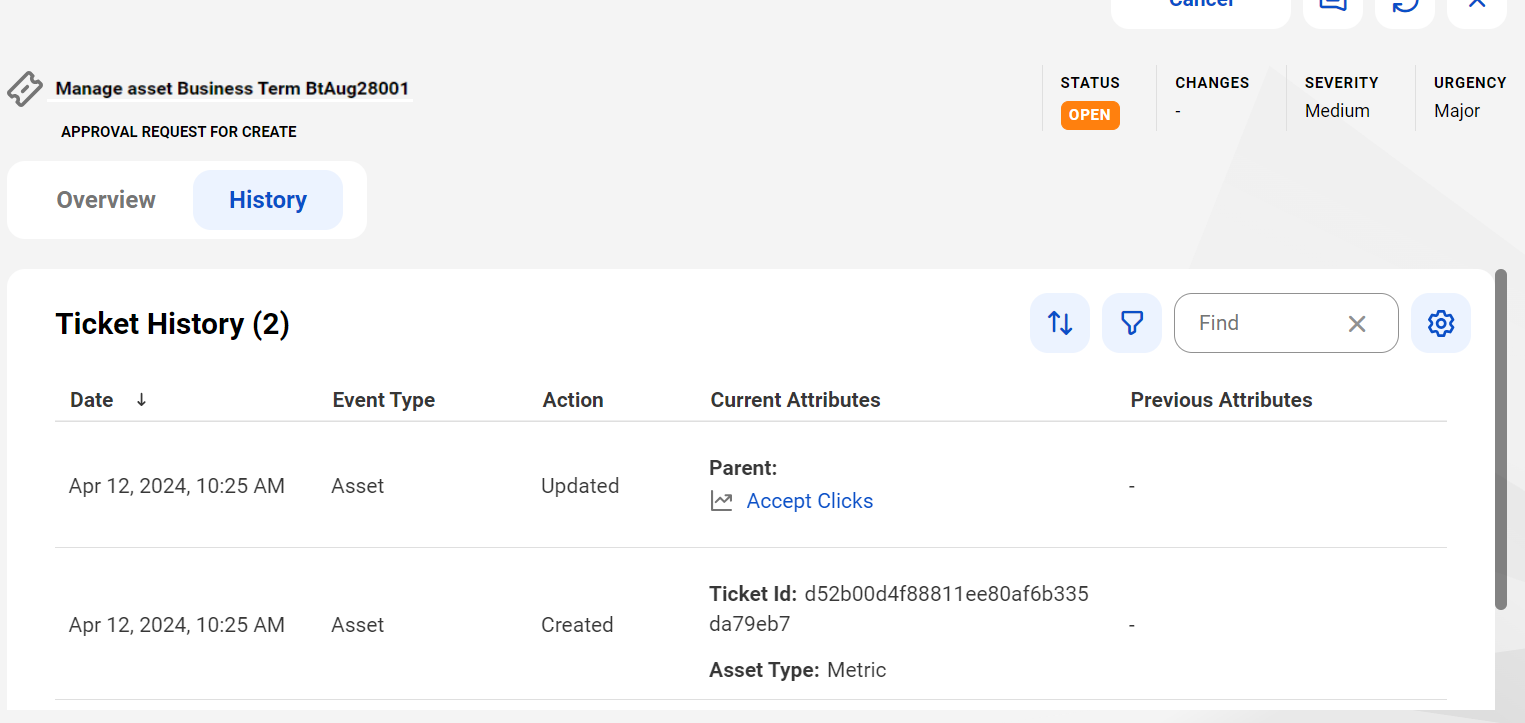
1Open an asset, select the History tab, and view the following properties:
Field | Description | Displayed by default |
|---|---|---|
Date | Displays the created and last updated dates of the asset. | Yes |
Event Type | Displays the type of the event that is performed on the asset. For example, this field displays the changes in the name, description, or the reference ID of the asset. | Yes |
Action | Displays the following actions that are performed on the asset:
| Yes |
Current Attributes | Displays the recently changed attributes of the asset. | Yes |
Previous Attributes | Displays the earlier attributes of the asset. | Yes |
Changed By | Displays the user who has performed the action on the asset. | Yes |
Ticket Name | Displays the name of the ticket. | No |
Ticket Path | Displays the origin path of the ticket. | No |
Ticket Type | Displays the type of the ticket. | No |
Trace ID | Displays the unique ID for the ticket. | No |

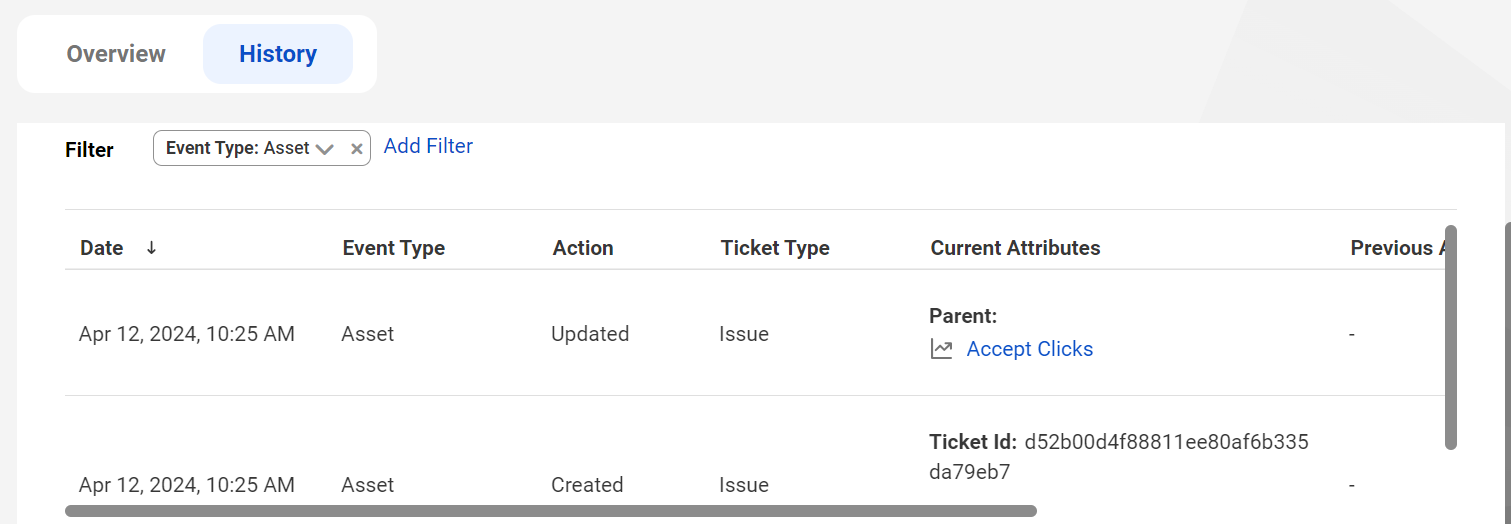
2To narrow the information you see in the History tab, click the Filter icon and add filters based on the various properties.

For example, apply the Event Type filter to view the event history of the asset when you change the name, description, or the reference ID of the asset:

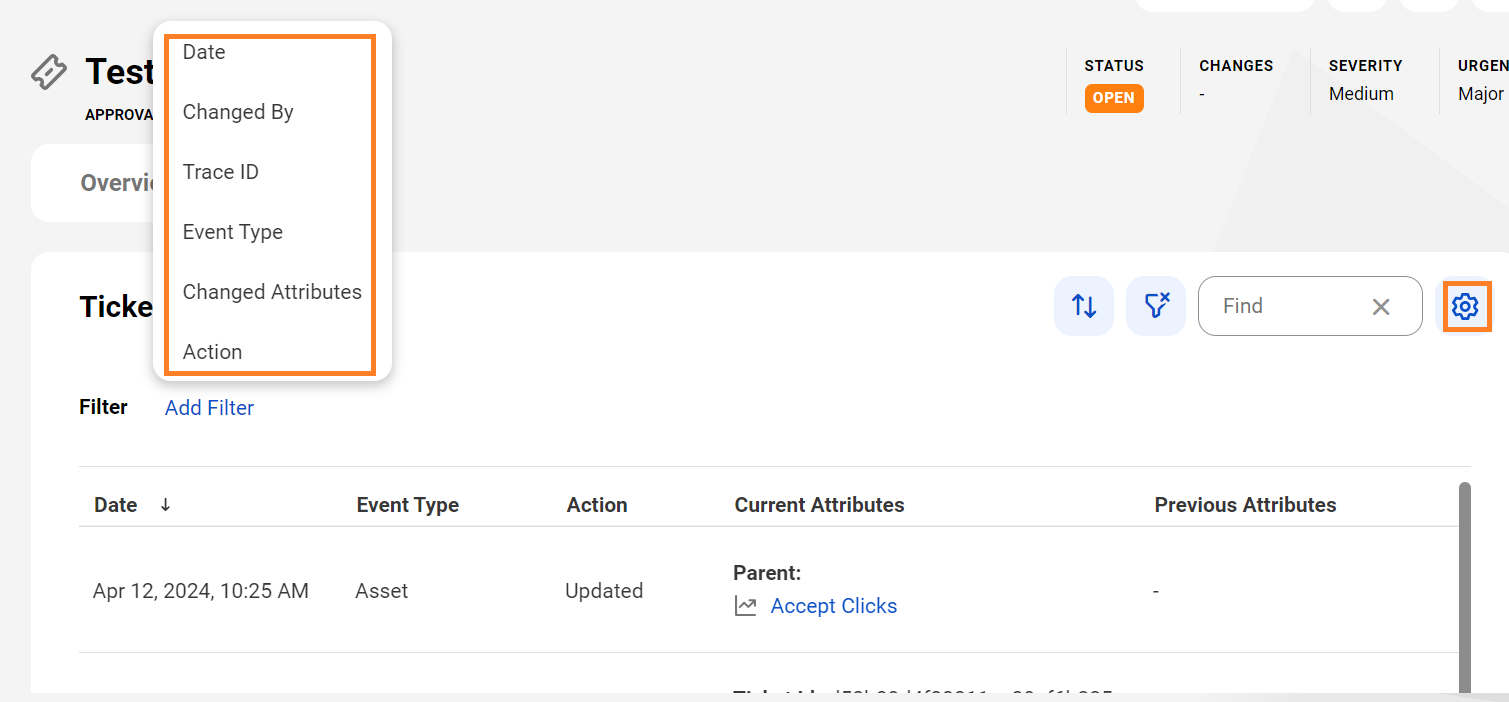
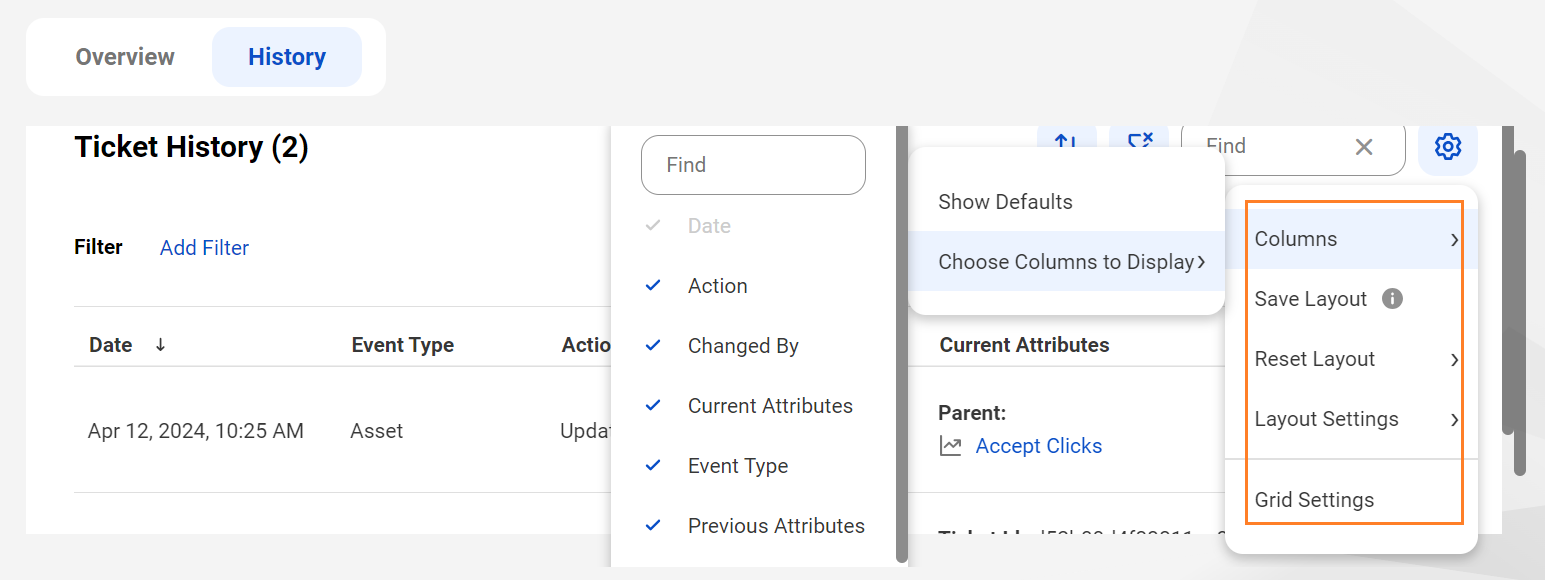
3From the Settings icon on the History tab, select the layout changes to display for the page.
Settings | Description |
|---|---|
Columns | Apply the default columns or choose columns based on your requirement. |
Save Layout | Save your preferences for the grid layout. |
Reset Layout | Reset your grid layout preference to its default settings. You can select one of the following reset options:
|
Grid Settings | Select the columns that you want to display, reorder the selected columns, sort the order of columns, determine the grid density, and specify number of rows per page. |
