1On the Complete Initial Setup page, click Configure Snowflake Connection.
The Target Warehouse Connection page opens:
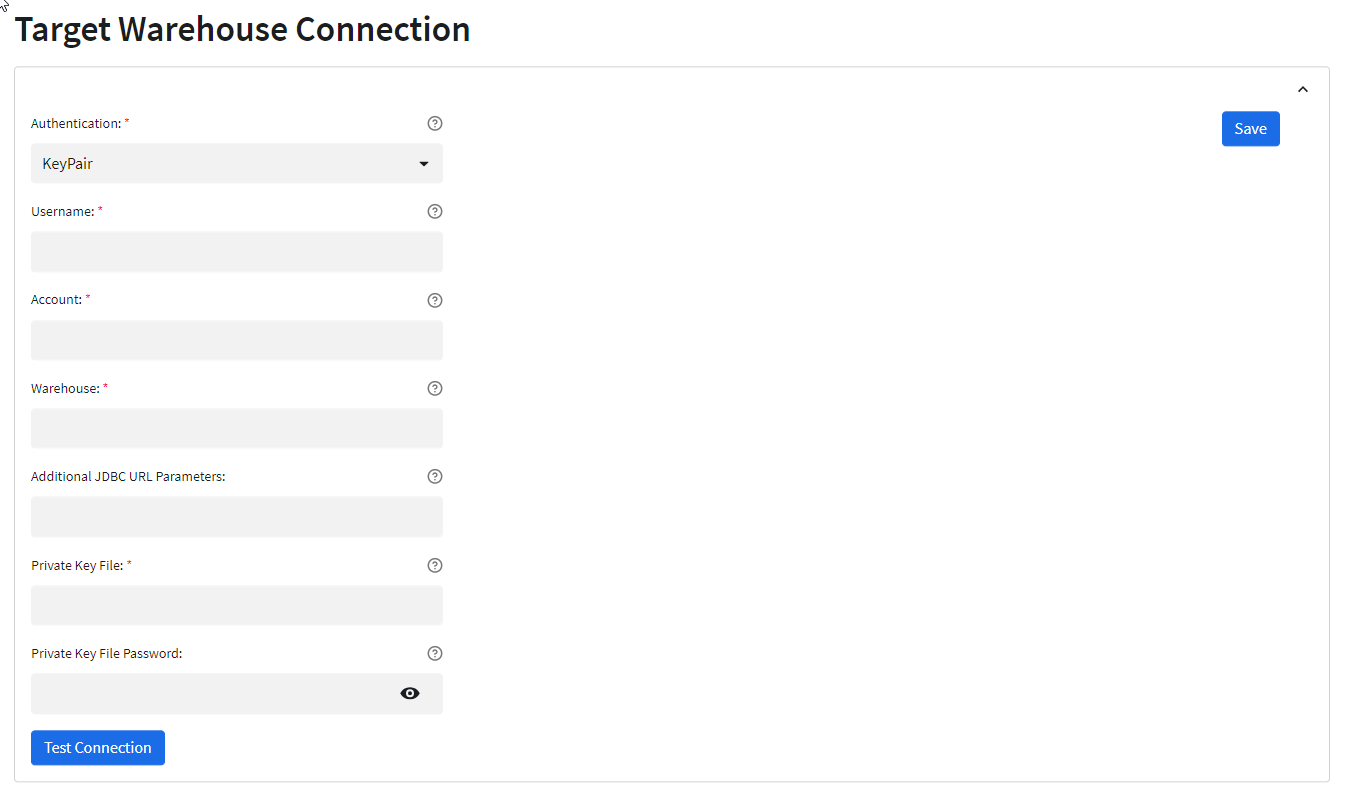
2 Configure the following Snowflake connection properties, using the values you previously gathered:
Property | Description |
|---|---|
Authentication | Only KeyPair authentication is supported. KeyPair authentication uses the private key file and private key file password, along with the existing Snowflake account user name, to connect to Snowflake |
Username | The user name for connecting to the Snowflake account. |
Account | The name of the Snowflake account. Do not include underscores. For example, assume that the Snowflake URL is: https://<123abc>.us-east-2.aws.snowflakecomputing.com/console/login#/ Then the account name is the first segment in the URL before snowflakecomputing.com, that is, 123abc.us-east-2.aws. |
Warehouse | The target Snowflake warehouse name. |
Additional JDBC URL Parameters | Optional. One or more JDBC connection parameters in the following format: <param1>=<value>&<param2>=<value>&<param3>=<value>... You must specify the database parameter to identify the Snowflake database for the JDBC connection, for example: database=AUSDB. |
Private Key File | Path to the private key file, including the file name, that the Secure Agent uses to access Snowflake. For example: /root/infaagent/myapp/path_to_key_file/rsa_key.p8 You create the key file in Snowflake. Note: The keystore must be FIPS-certified. If you have more than one Secure Agent, make sure that the rsa_key.p8 key file is located in the same path on all of the agent machines. |
Private Key File Password | The password for the private key file. |
3 Test the connection.