1. In Informatica Cloud home page, click Configure.
2. The drop-down menu appears, select Connections.
3. The Connections page appears.
4. Click New to create a connection.
5. The New Connection page appears.
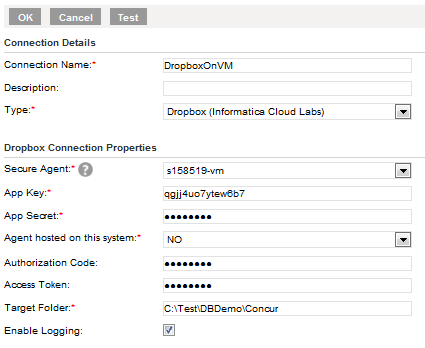
6. Specify the following details.
Connection Property | Description |
|---|---|
Connection Name | Enter a unique name for the connection. |
Description | Provide a relevant description for the connection. |
Type | Select Dropbox from the list. |
Secure Agent | Select the appropriate secure agent from the list. |
App Key | Enter App Key obtained from Dropbox App Console. |
App Secret | Enter App Secret obtained from Dropbox App Console. |
Agent Hosted on this system | Select ‘Yes’. |
Authorization code |
|
Access Token | Enter the access token obtained after testing the connection. |
Target Folder | Specify the location of target folder. The target folder is the location to which Dropbox files will be downloaded. For example, \..\..\Dropbox\Target\ |
Enable Logging | Tick the checkbox to enable logging. |
7. Click Test to evaluate the connection.
When you test the connection, a browser window opens up requesting access to all files and folders in your Dropbox account.
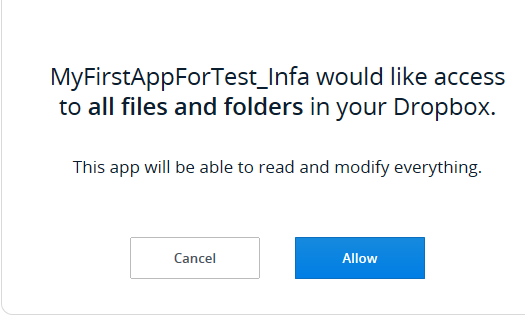
8. Click Allow.
9. The following screen appears requesting you to go back to the Dropbox connection page.
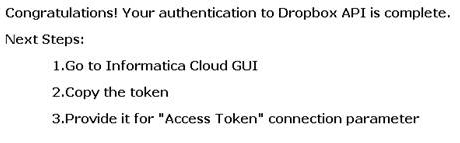
When you go back to Dropbox connection page in Informatica Cloud, you will find the access token as shown in the figure below.
10. Enter/copy and paste the obtained code in Access Token.
11. Test the connection again to verify whether the connection is successful.
12. Click OK to save the connection.
The Dropbox connection when secure agent is hosted in your system is created successfully.
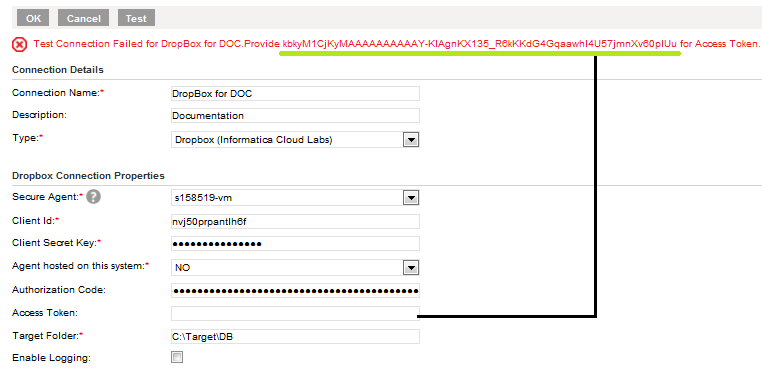
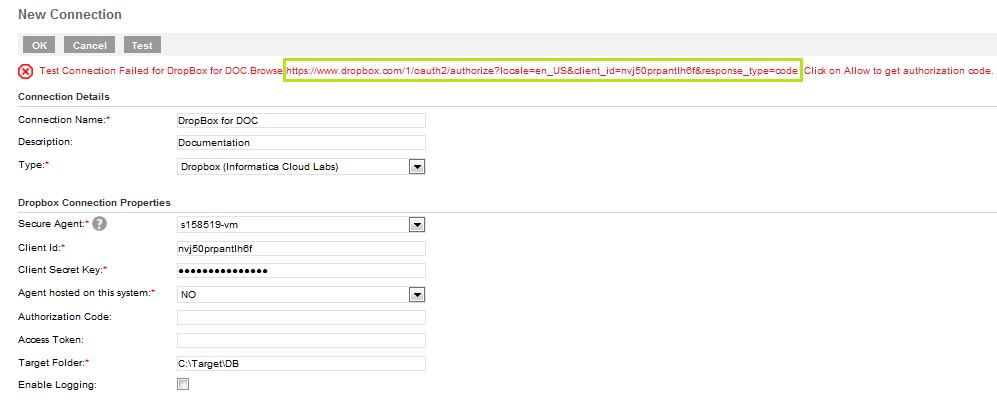
When your secure agent is hosted in a different location (Accessing Informatica Cloud from the system where secure agent is not hosted), follow the procedure given below to create a Dropbox connection.
Connection Property | Description |
|---|---|
Connection Name | Enter a unique name for the connection. |
Description | Provide a relevant description for the connection. |
Type | Select Dropbox from the list. |
Secure Agent | Select the appropriate secure agent from the list. |
Client Id | Enter Client ID obtained from Dropbox App Console. |
Client Secret Key | Enter Client Secret key obtained from Dropbox App Console. |
Agent Hosted on this system | Select ‘No’. |
Authorization code | After specifying the Target folder in connection parameters, test the connection. When you test the connection, an URL link appears in the connection page which provides the Authorization code. |
Access Token | Enter the access token obtained after testing the connection with authorization code. |
Target Folder | Specify the location of target folder. The target folder is the location to which Dropbox files will be downloaded. For example, \...\...\Dropbox\Target\ |
Enable Logging | Tick the checkbox to enable logging. |
14. Click Test to evaluate the connection.
When you test the connection, a URL link appears in the connection page as shown in the image below. Copy and paste the URL link in a new browser window.
The URL link page requests access to all files and folders in your Dropbox account.
15. Click Allow.
In the following page, you get the authorization code as shown in the figure below.
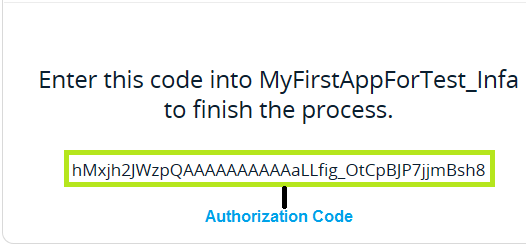
16. Copy and paste the authorization code in the connection parameters.
17. After entering the authorization code, test the connection to get the access code as show in the figure below.
18. Test the connection again to verify whether the connection is successful.
19. Click OK to save the connection.
The Dropbox connection, when secure agent is not hosted in your system is created successfully.