Workday Target Transformation in Mappings
When you select a Workday connection for a Target transformation, you can select an operation based on the imported WSDL.
You can add multiple input groups into the Workday target and define the primary and foreign key relationships between the multiple input groups before the mapping. View the request structure from the WSDL and map the input groups to the hierarchical structure before you write data to Workday.
Workday Target Transformation Properties
You can configure target properties, such as target details and advanced properties, based on the connection type you select. Configure target properties on the Target tab of the Properties panel.
When you select a Target transformation, the Properties panel displays the following areas and information:
- •General. Defines the transformation name and a description.
- •Incoming Fields. Includes the field rules that define the data written to the target. Allows a preview of target fields.
- •Target. Defines the target connection, operation, and advanced options.
- •Target Fields. Not applicable for Web Service targets.
- •Field Mapping. Defines the field mappings from the upstream transformation to the target.
Workday Advanced Target Properties
In a mapping, you can configure a Target transformation to represent a Workday target. For Workday target connections used in Mapping Configuration tasks, you can configure advanced properties in the Targets page of the Mapping Configuration Task wizard.
The following table describes the advanced properties that you can configure in a Target transformation:
Property | Description |
|---|
Cache Size for Web Service Request (KB) | Memory available for the web service request. If the web service request contains many rows or columns, you might want to increase the cache size. Default is 100 KB. |
Transaction Commit Control | Control to commit or roll back transactions based on the set of rows that pass through the transformation. Use the transaction commit control if you have a large amount of data and you want to control how it is processed. |
Target Transformation Mapping Example
You are a human resources administrator and you want to update the legal name of an employee in Workday.
To update a legal entry for an employee in Workday from a flat file, perform the following tasks:
- 1. Create a flat file connection to read data from the flat file.
The following table shows the last name, Chu, in the flat file that you want to update in Workday:
Field | Value |
|---|
wkrref_worker_descriptor | chu |
wkrref_worker_id | cf9f717959444023b9bc9226a2556661 |
wkrref_worker_type | WID |
wkrref_FK_worker | 42 |
Country_descriptor | United States of America |
country_id | bc33aa3152ec42d4995f4791a106ed09 |
country_type | WID |
FK_worker | 42 |
First_Name | Lillian |
Last_Name | Chu |
PK_Worker | 42 |
You need to prepare the file to include the corresponding reference information required for updating legal data in Workday. For more information, see
File Preparation for a Target Transformation.
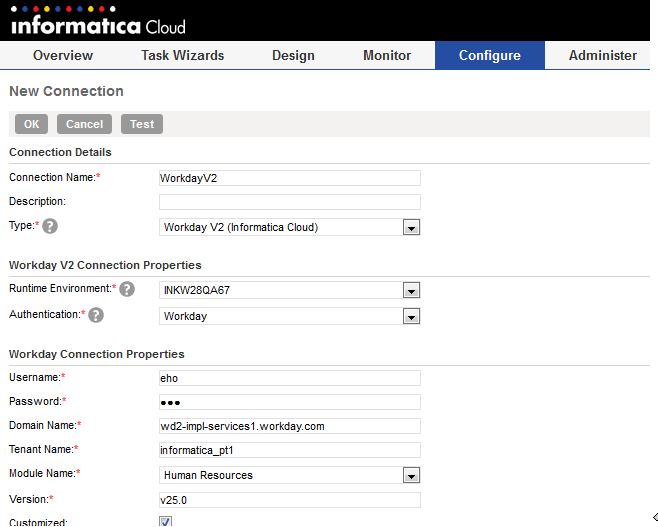
- 2. Create a Workday connection to write data to Workday. Verify that you select Human Resources as the Module name and specify the WSDL version in the connection properties.
The following image shows the configured Workday connection:
- 3. Create a Workday mapping.
The following image shows the Workday mapping:
- 4. Add a Source transformation to include the flat file object that contains the legal information. Add the flat file connection.
- 5. Add an Expression transformation to add the required processing options for the business process and define the calculations that you want to perform:
- - Auto_complete = true. Indicates that the business process is automatically processed.
- - Run_now = true. Indicates that the transaction processes to completion before the response generates.
The following image shows the configured Expression transformation:
For more information on the required business process parameters to perform an operation in Workday, see the request parameters under the listed operations in the Workday Web Services (WWS) Directory.
- 6. Add a Target transformation to write the legal data to Workday. Perform the following tasks on the Target tab:
- a. In the Connection field, select the Workday connection to connect to Workday.
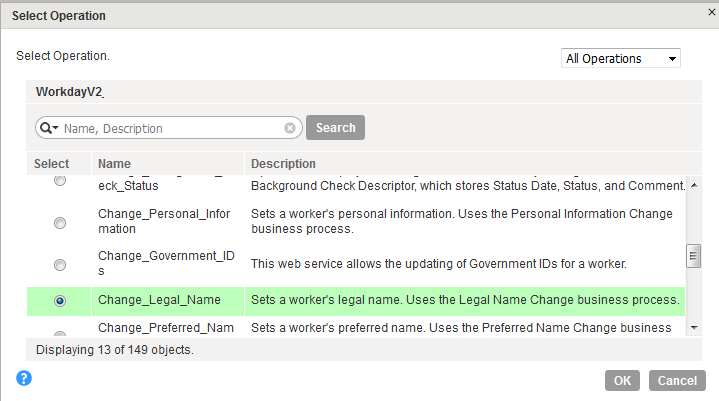
- b. In the Operation field, select Change_Legal_Name as the operation.
The following image shows the Change_Legal_Name in the list of write operations:
- c. In the Advanced Properties section, set the cache size and the transaction commit interval.
- 7. On the Field Mapping tab, select the input elements to map to the target fields.
The following image shows all the mapped fields between the input file and the Workday target:
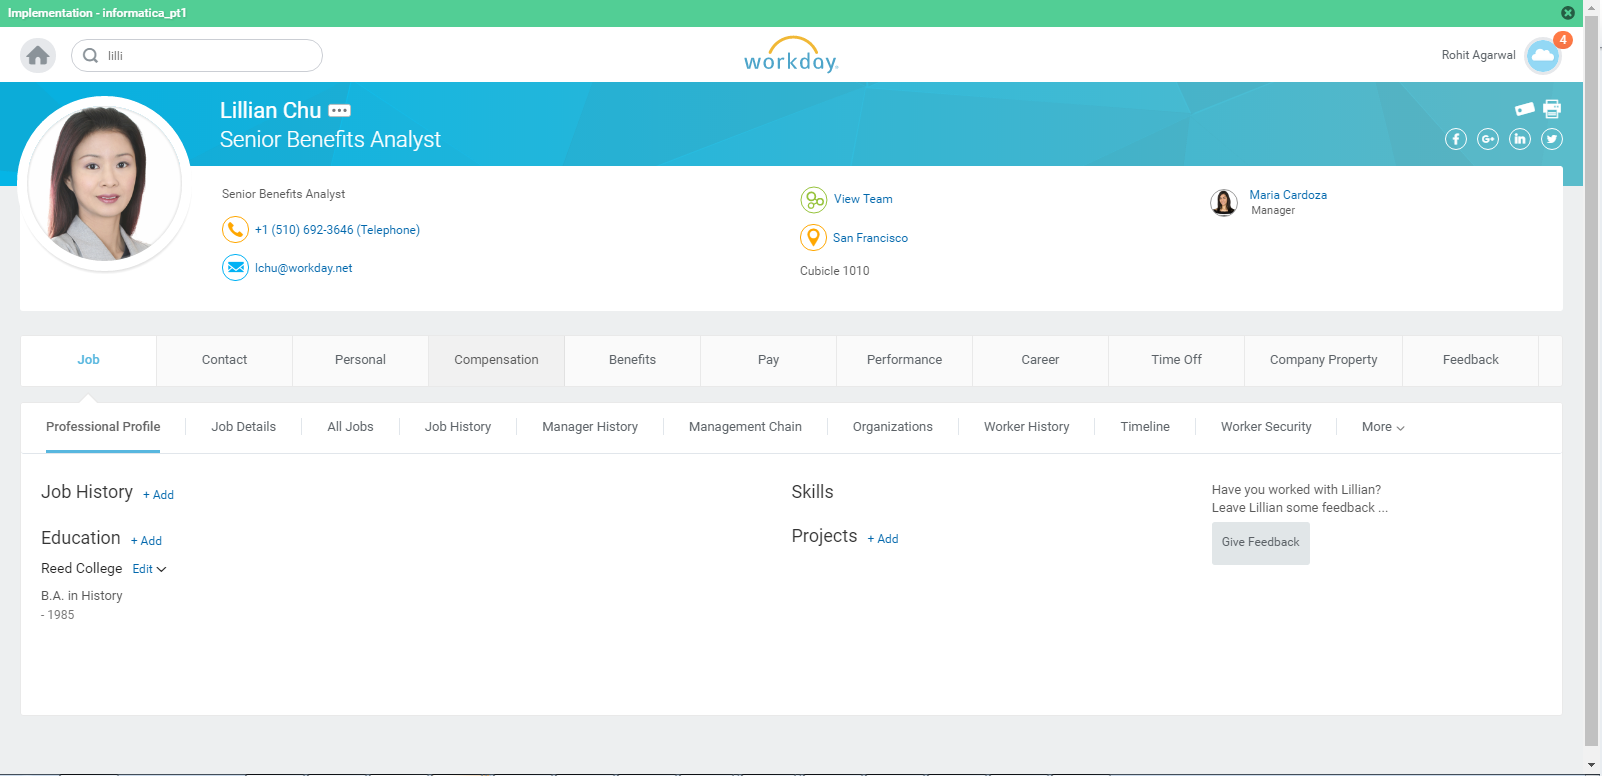
- 8. When you save and run the mapping in a Mapping Configuration task, the Secure Agent updates the legal name in Workday.
The following image shows the updated legal name in Workday:


