Desktop Client Installation
This pages describes the installation of the Informatica Product 360 Desktop Client
Prerequisite
Before you can start with this chapter, you need to have finished the following parts:
Binaries
To obtain the Product 360 download package please raise a Shipping Request with Informatica.
The client archive is distributed within the Product 360 core archive and has the following format PIM_<Version>_<Revision>_client_win64.msi
Installing the client with MSI file
This chapter describes how to install the client by means of a MSI file which is a Microsoft Installer executable providing a wizard like installation procedure.
Perform the following steps:
Execute the installer file PIM_<Version>_<Revision>_client_win64.msi (e.g. PIM_8.0.00.00_Rev-4711_client_win64.msi).
Click on Next.
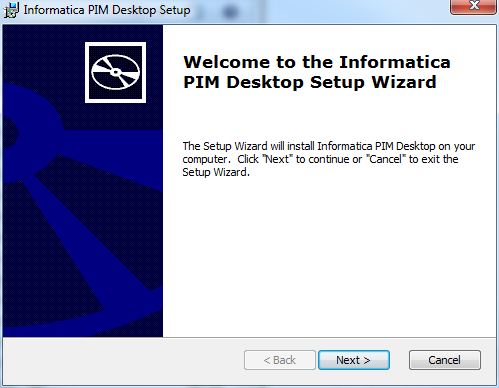
Welcome screen of Informatica PIM - Desktop Setup WizardWelcome screen of Informatica Product 360 - Desktop Setup Wizard
Choose a destination folder to which the Desktop Client will be extracted and click on Next.
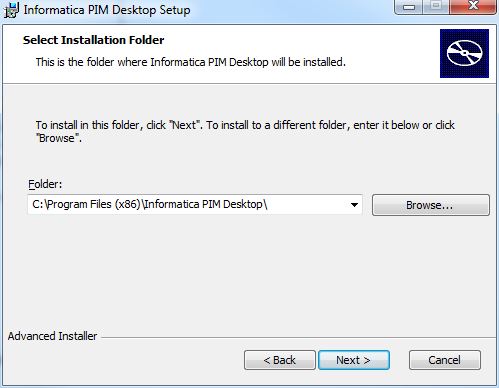
Selecting the installation folderSelecting the installation folder
Click on Install.
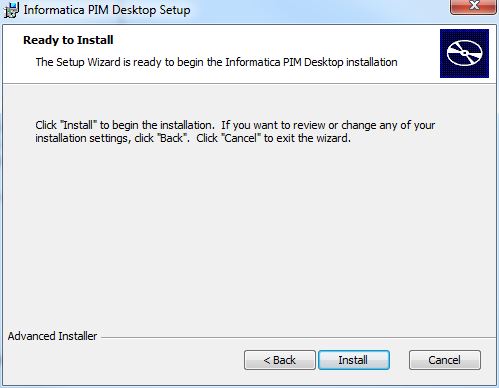
Starting the client installationStarting the client installation
The Desktop Client will be extracted to the destination directory.
Installation progress screenInstallation progress screen
Confirm the signature warning dialog (only Windows Vista and Windows 7).
Click on Finish to exit the Setup Wizard.
In case you have a customized client, you might not have the MSI installation package, but the zipped archive PIM_<Version>_<Revision>_client_<ARCH>.zip. The client's installation is really nothing more then unpacking the zip file to a folder of your choice in which you have modify permissions. Deinstallation is done by deleting the directory in which you unzipped the client.
Starting the client
Perform the following steps:
Run the Desktop Client by double clicking the "Informatica Product 360 Desktop" shortcut on your desktop or in your start menu.
While starting, the Desktop client tries to use the connection info from the ServerConnection.xml file in order to connect to the initial client server. Given that there are more than one "client servers" available in the server cluster, the initial server then automatically delegates the connection to the server with the least number of connected clients, to the so-called dialog server. When pressing and holding Ctrl during client start, the connection info to the initial server can be specified manually (as usual).
Afterwards, the dialog server can be selected manually from a drop down box, which contains a sorted list of all available client servers including the number of already connected Product 360 Desktop clients. In case the client cannot find the server with the default connection settings, it will prompt for alternative connection settings.
-
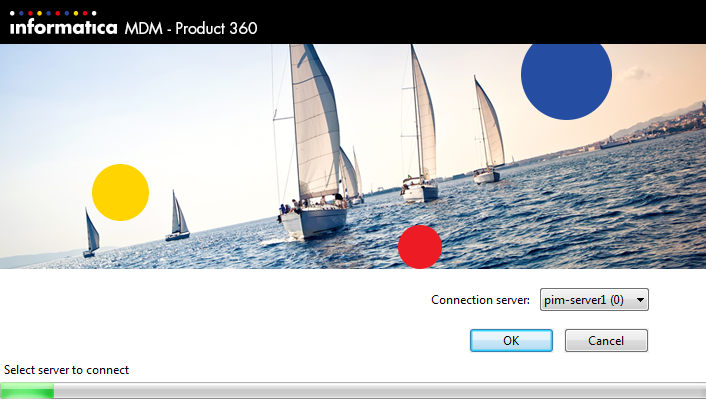
When the client was able to connect to a server, he retrieves all information of all the configured servers of the cluster. Next time if a server is down, the client is able to request the other servers for a connection.
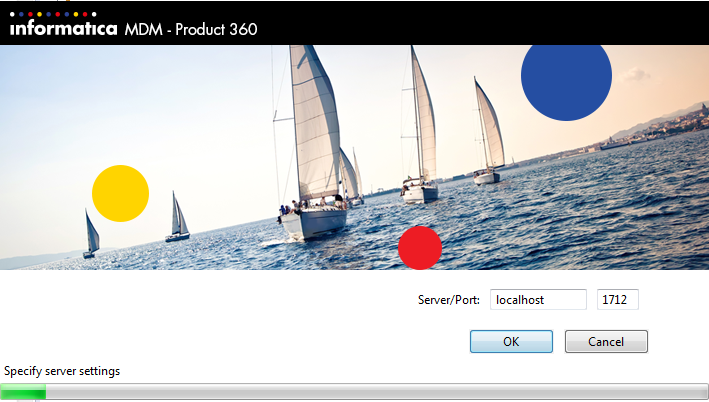
Enter connection settingsEnter the server name and port of the application server and click OK.
In case your local windows user is not (yet) known to Informatica Product 360, or the Single-Sign-On feature is disabled, you will be prompted with a login screen
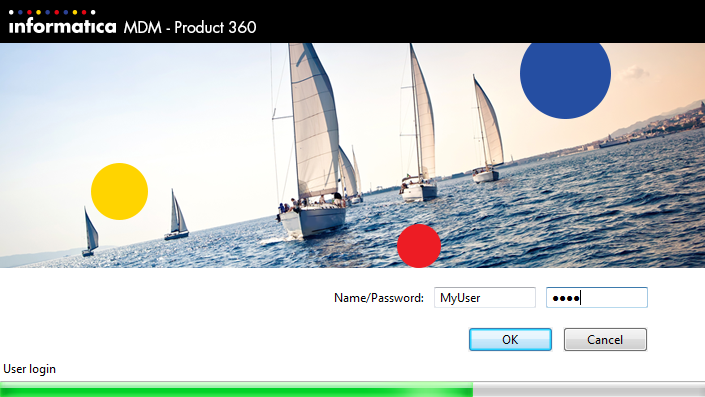
Login screen
Enter your user name and password here and confirm with OK. In case Informatica Product 360 has been started the first time and no user or user group configuration exists yet, you can use the default Administrator account
Username: Administrator
Password: Administrator
If you don't want to use the default connection settings or you want to login as another user than the local windows user,
you can change the server connection settings and the user login when you keep the CTRL key pressed during startup.
Single Sign-On
LDAP Authentication
In case Informatica MDM product 360 is configured to use LDAP authentication special rules may apply during login.
In case the system is configured to use a single domain from the LDAP server, the users can login just with their user name, otherwise should specify the domain during the login. E.g. myCompany.com\MyUserName or MyUserName@MyCompany.com.
The single-sign on feature is only available on the Desktop Client. It uses the currently logged in Windows user and tries to authenticate this one against the server. If the user can be found, and validated against LDAP the user is automatically signed in.
Depending on the user group configuration in your system, it is possible that the user is instantly created and mapped to the Product 360 user groups based on his LDAP group membership. This works for LDAP authentication as well as single-sign-on.
SAML Authentication
Starting with 8.0.03 it is possible to login to the desktop client via SAML. A detailed description how to configure and activate SAML Single Sign-On is described in the Server configuration section 'SAML Configuration'.
When SAML is enabled in the SamlConfig.xml, the Rich Client will display the login form or login prompt configured by the IdP. No special configuration is required for this scenario.
The SAML login can be skipped by pressing <ctrl> key during client startup process.
The Rich Client Single Sign On also triggers, if configured, the automated user creation, if a default user group is configured.
Possible problems and workarounds that may occur, especially certificate trusts, are described under 'Workaround to prevent the "Invalid Certificate" error (Mozilla)' in the section 'Desktop Operation'.