Configuration and Operation
Configuration
The following application configurations are provided within application.properties , for adjusting the operation of Swagger UI
# Title for displaying within the Swagger UI contextapplication.title=Informatica MDM - Product 360 Swagger UI# Context settings for Swagger UI URLserver.contextPath=/swaggerserver.port=9080# Specify the maximum number of threads used for building the OpenAPI specification YAML file.# Allowed value is an integer greater than 0.server.maxThreads = 10# The maximum time for the user session in minutesserver.maxSession= 300spring.mvc.view.prefix=/WEB-INF/views/spring.mvc.view.suffix=.jspspring.output.ansi.enabled=ALWAYSapplication.formatted-version=1.0Operation
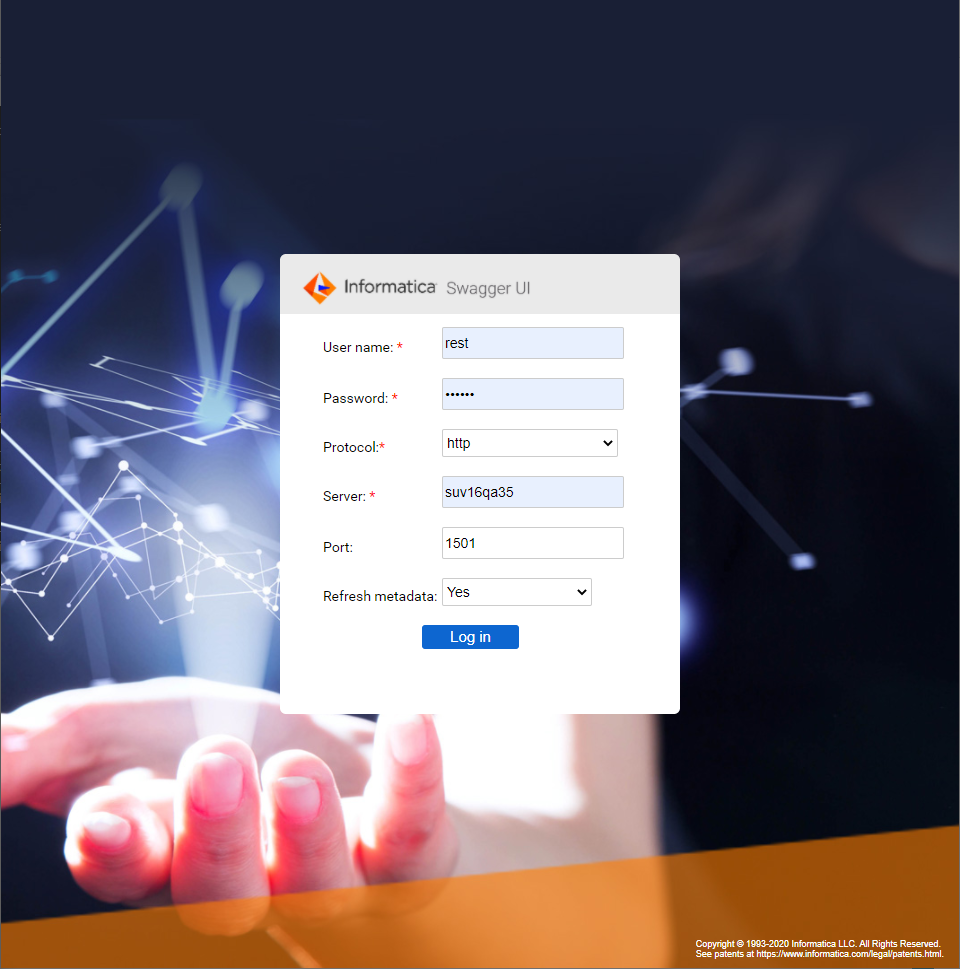
The Swagger UI landing page, the login window, should be presented in the default browser with URL “http://localhost:9080/swagger/swagger-ui.html”. This URL reflects the default properties set in the configurations. This might be different based on your setup.
Enter the REST API User and Product 360 Server credentials received from the admin, into the login window. For the first time, select "Yes" from the "Refresh Metadata" drop-down and click login. At this point the application fetches the latest repository information and builds a list of entities available within the specific Product 360 installation. In case of no interim changes in the repository, for future logins this step can be skipped by choosing "No" under "Refresh metadata". However, with any changes to the entity information in the repository this metadata refresh action should be performed again.
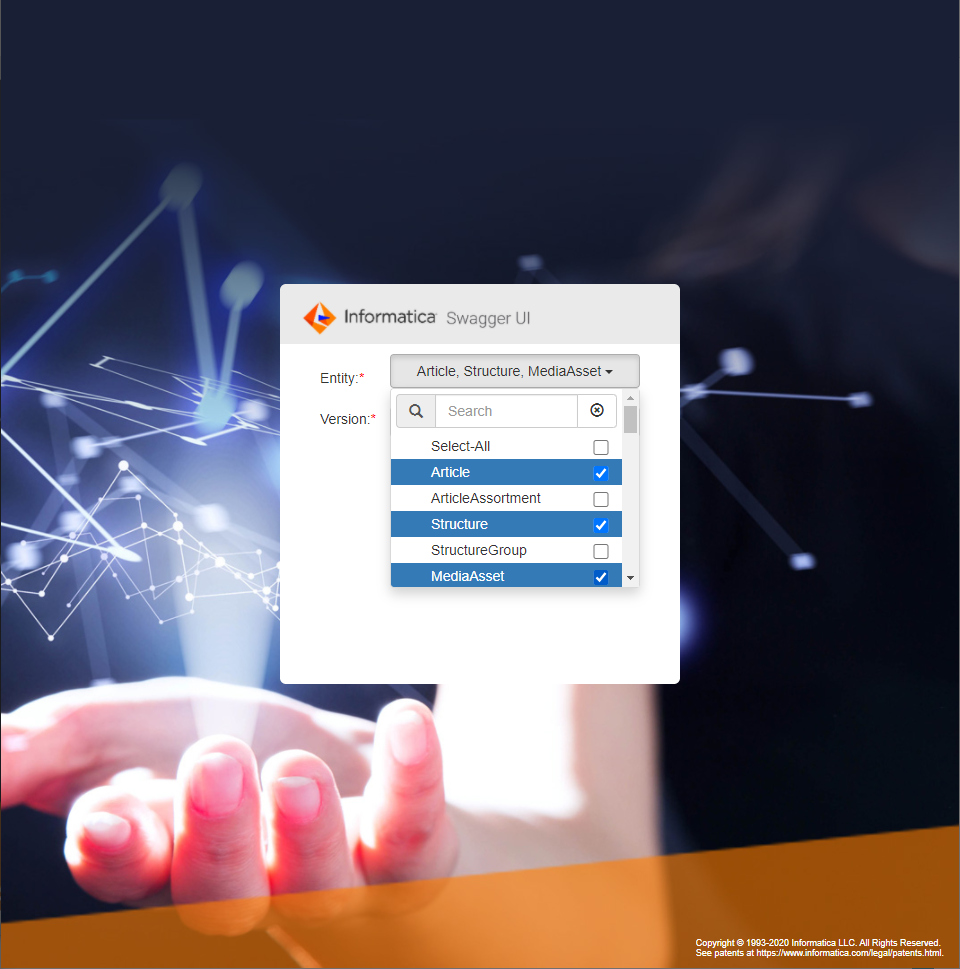
Once the metadata is refreshed, a page with the supported entities will be presented. Select the entity types, that you would like to operate upon using the List API, and click "Generate". This action initiates the generation of the custom repository specific OpenAPI specification for the supported Service API.
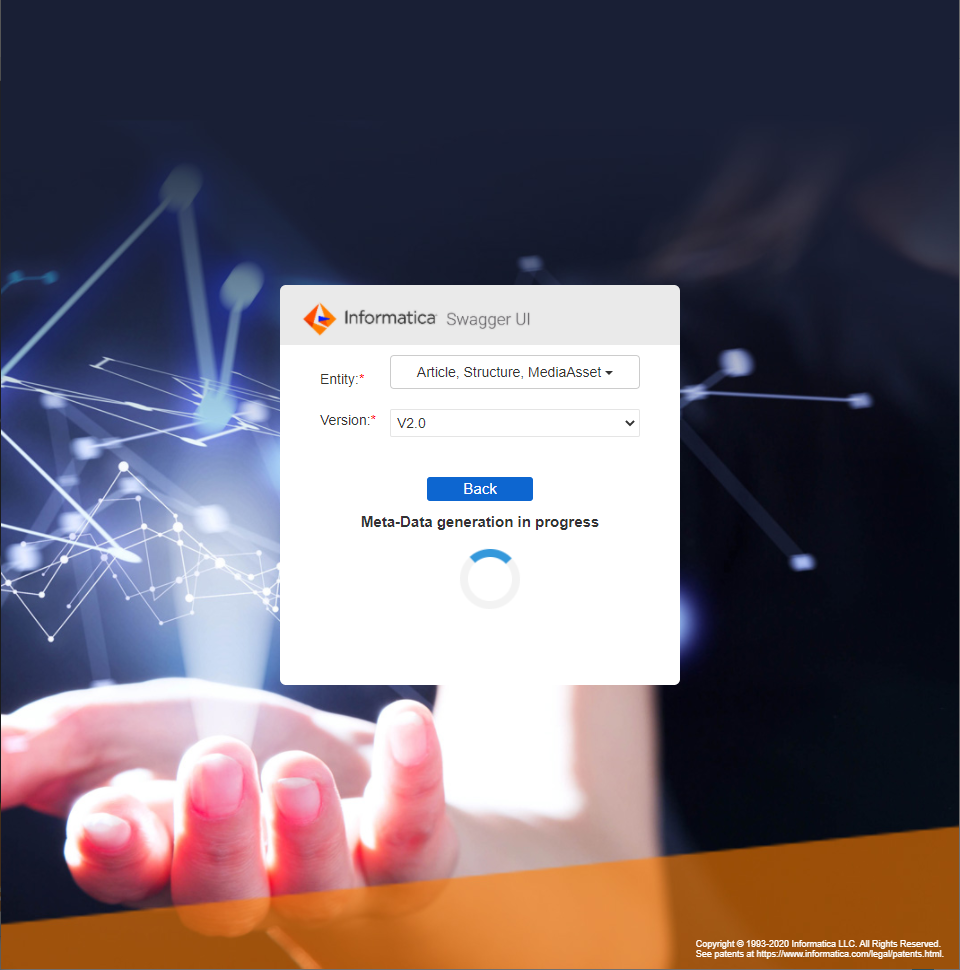
Depending upon the number of entities / sub-entities in the repository and the network overhead, the metadata generation and the corresponding OpenAPI specification generation might take a few minutes. As mentioned earlier, this step would have to be performed only whenever there is any change in the metadata information.
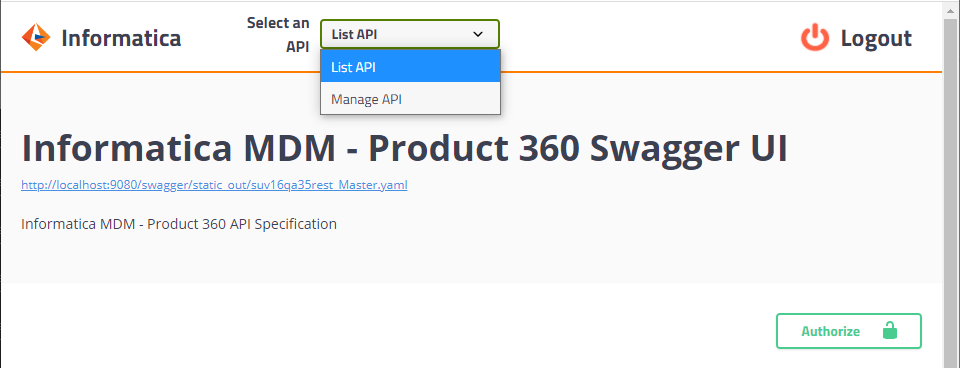
Once the OpenAPI specification is generated, the home page of Product 360 Swagger UI, as shown below, should appear.
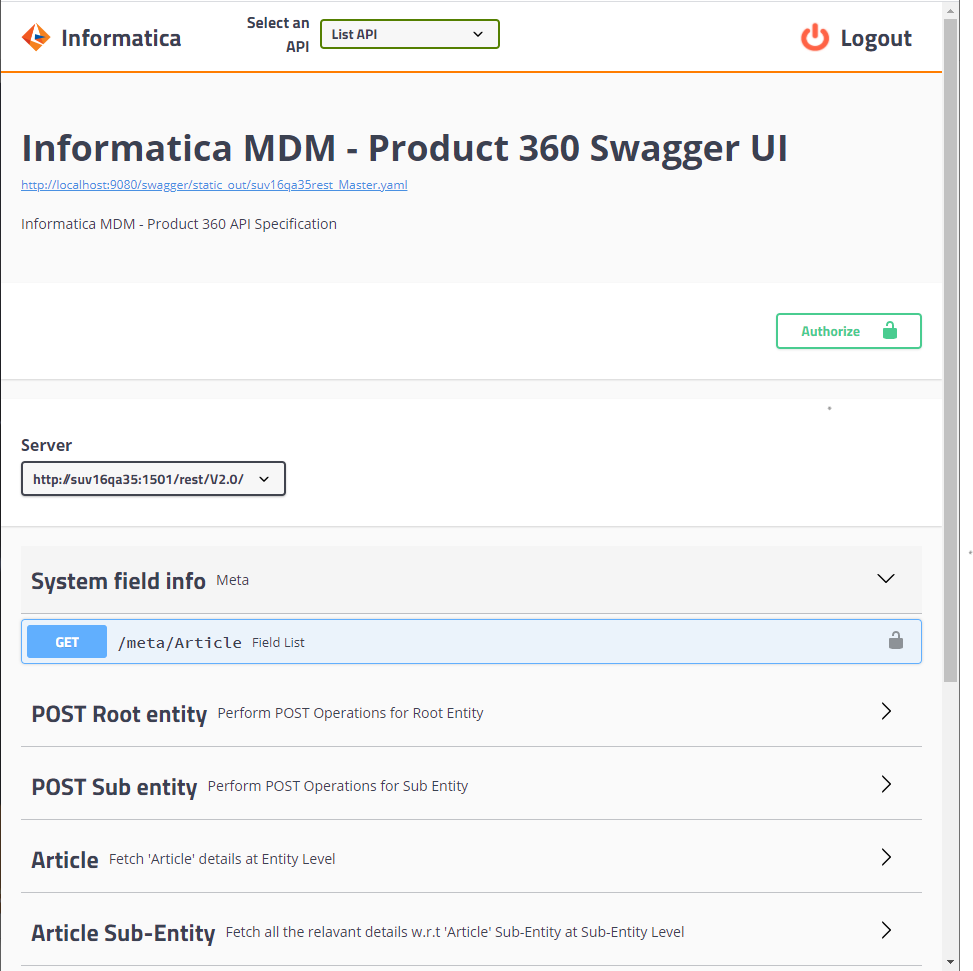
Select one of the API specifications from the drop-down list. Once a selection is made the corresponding OpenAPI YAML specification file can be downloaded, if needed for client REST API implementations, from the link appearing under the Informatica logo.
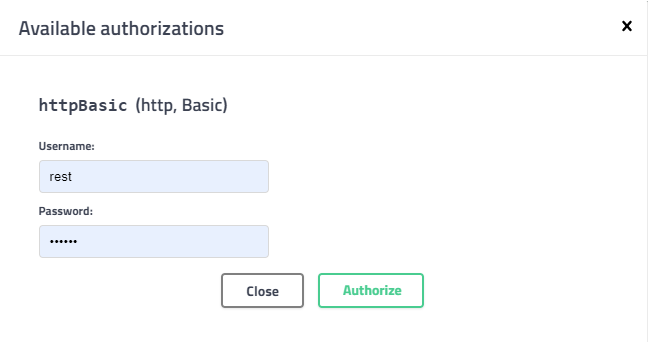
Before executing any query, you must be authorized. Click on the Authorize button on the home page and enter your user credentials. Once successfully authorized you can execute the required operations. Later pages show an example for the execution of a GET operation for an entity.
Example : Fetch 'Article' details at Entity Level, by Items in a catalog
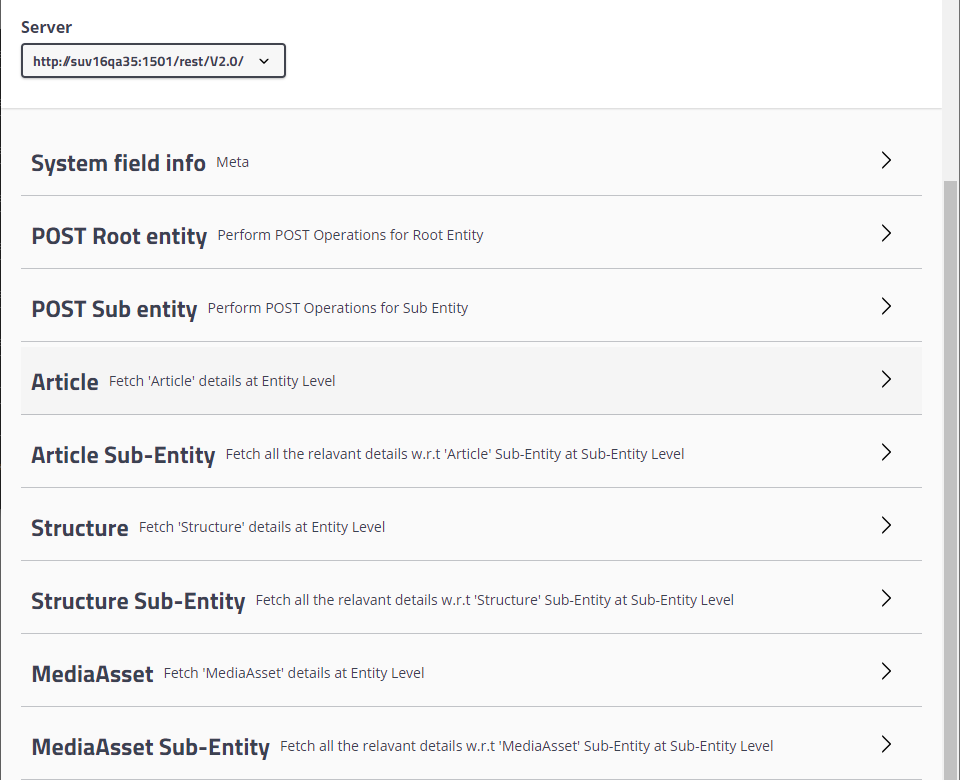
On the Swagger UI page is a list of entity and sub-entity panels corresponding to the selection made earlier, while generating the OpenAPI specification. Upon clicking any of the entity / sub-entity panels, the server stubs to the respective API endpoints and permitted REST operations would be displayed.
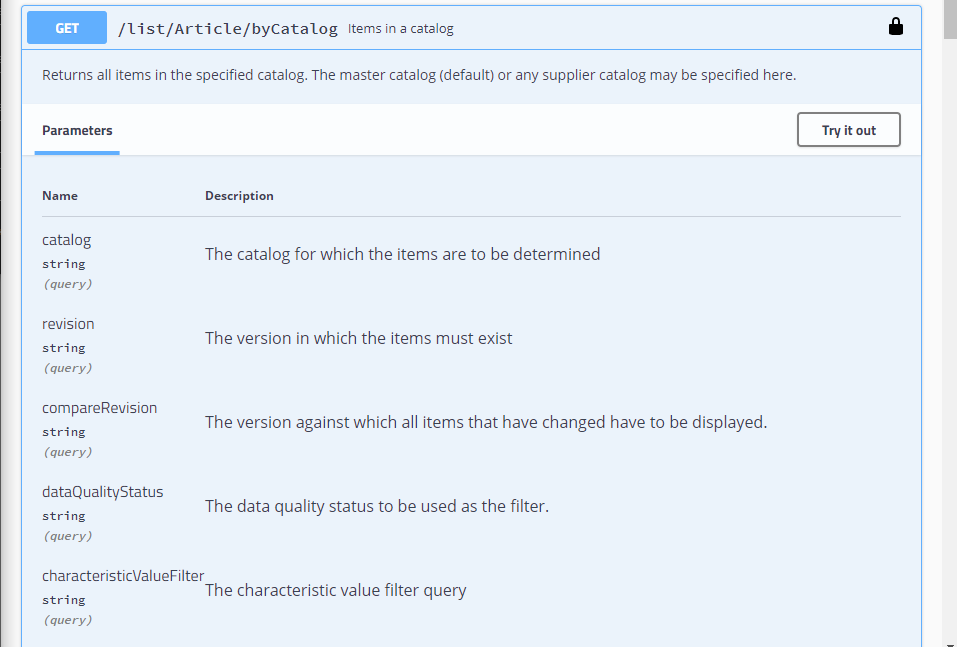
For the current example we choose Article > GET /list/Article/byCatalog
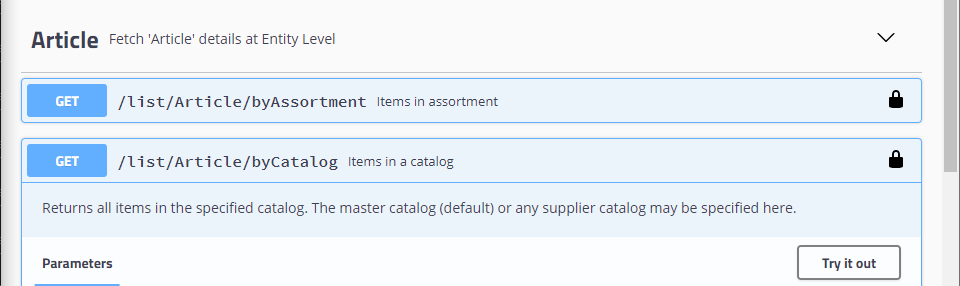
On selecting the API endpoint, supported parameters and their descriptions are displayed. To set the parameters and execute, click the “Try it out” button. A set of text boxes, drop-downs and multi-select fields against each parameter would now be enabled
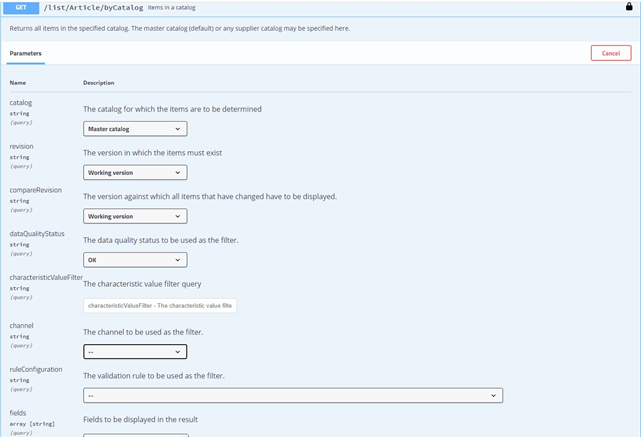
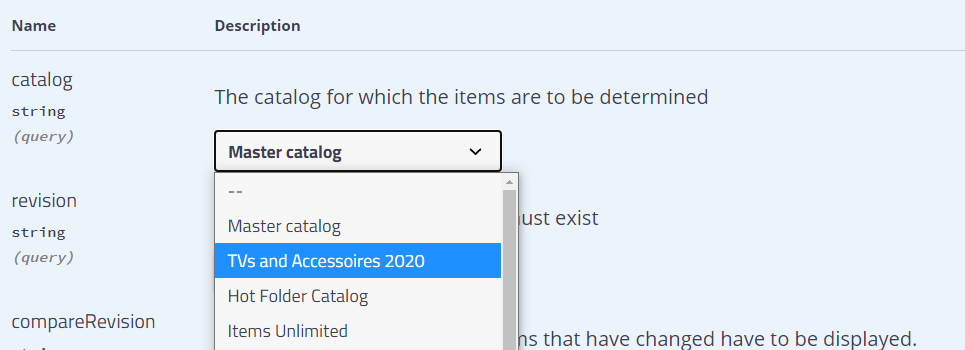
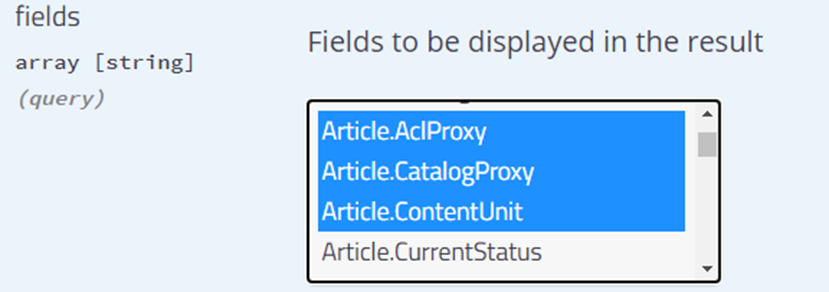
From the listed options, API parameters can be set by selecting fields from dynamically loaded drop-down lists (use Crtl+Select / Shift+Select, for selecting multiple options) or by entering text based on the parameter type. In the example below, Catalog and display fields parameters are chosen from a drop-down list and parameters such as pageSize are set explicitly using the text box against it. Obligatory required parameters are indicated with a *required against the parameter.
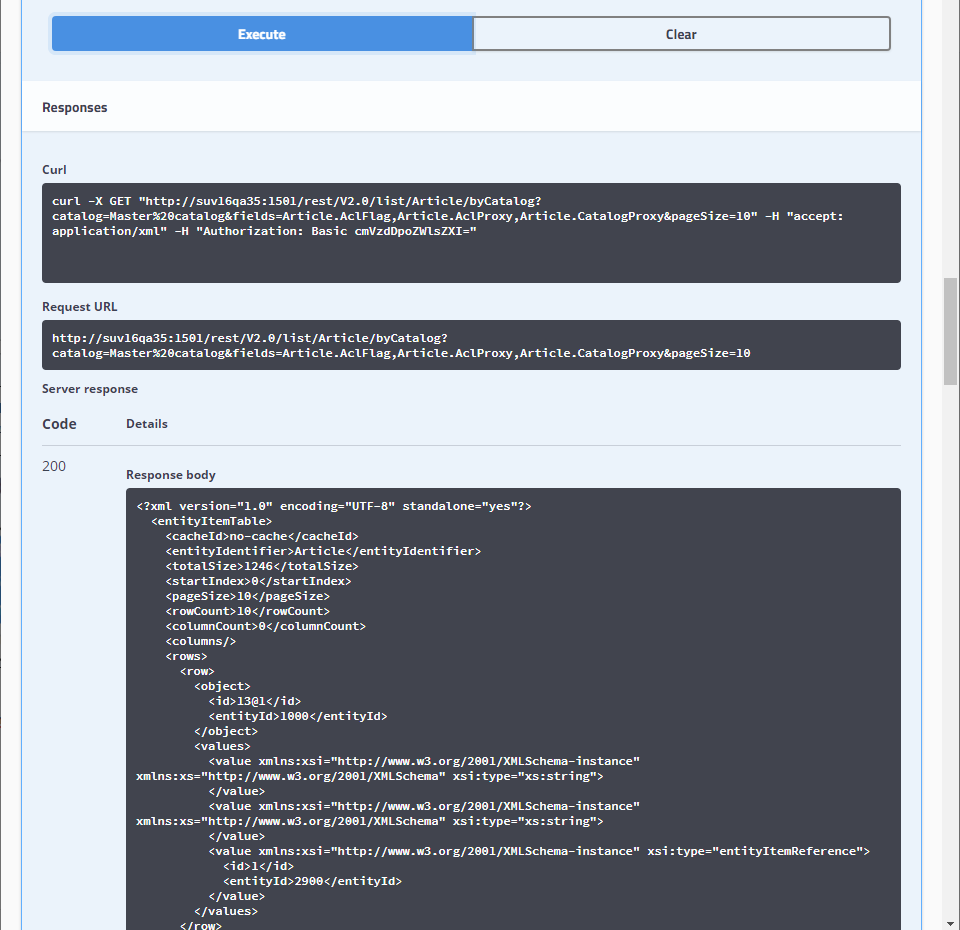
Once the necessary parameters are set, clicking “Execute” would generate the Curl and Request URLs, that can be used directly in downstream REST API client applications and workflows. The selected query is also executed and the response for the query is shown in the "Response body" section in XML/JSON format based on the selection in the "Accepted Header" parameter.
Other REST API operations can be executed in a similar fashion as mentioned above.