Use the human task asset to define the properties for the human task. When you create the asset, you can specify all the human task settings such as the task details, user or role assignments, input fields and output fields, task outcomes, and inbox display settings.
To create a human task asset, you perform the following steps:
1Define the basic human task asset details.
2Define the potential owners that can claim and act on a task.
3Define the excluded owners that cannot access or work on a task.
4Define the task administrators that can assign and reassign tasks.
5Define the stakeholders that can monitor, assign, and reassign tasks.
6Configure the input fields and output fields for the task.
7Configure the task outcomes.
8Configure the inbox display settings for the task.
Step 1. Define a Human Task asset
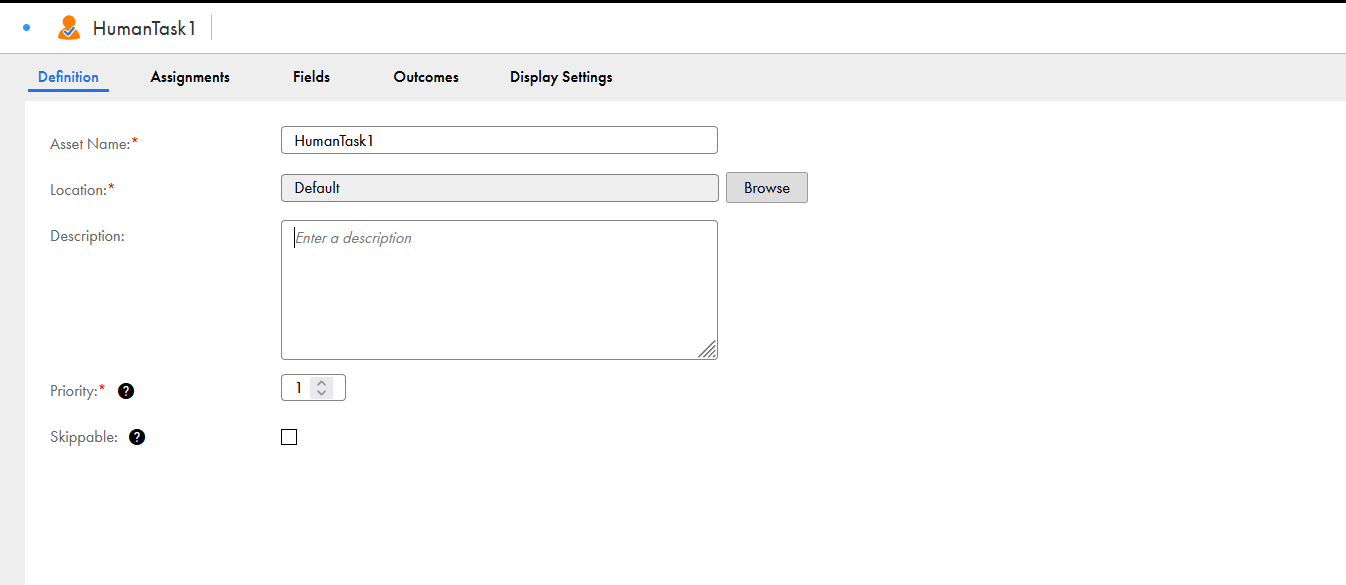
On the Definitions tab of human task asset, you can specify a name to identify the task, location to store the task properties, description for the task, and priority for the task. You can also configure the task to allow the user to skip the task if it is of low priority.
The task name and the description provided on the Definitions tab of the human task asset appear in the user's task panel of the Human Task Inbox so that the user can quickly identify the task without having to view the details.
1In Application Integration, click New.
The New Asset dialog box appears. The following image shows the New Asset dialog box:
2Select Human Task and click Create.
The Definition tab appears as shown in the following image:
3Enter a name for the human task asset.
4Use the default project or folder location or select a custom location. To select a custom location, click Browse, select a new location, and click Select.
5Optionally, you can enter a description for the task.
6Define the priority for the human task created by the process. The lesser the number, the higher the priority.
7Select the Skippable option for non-critical tasks to allow reviewers to skip the task in the Human Workflow Inbox. After the task is skipped, the process continues with the next step.
Step 2. Define potential owners
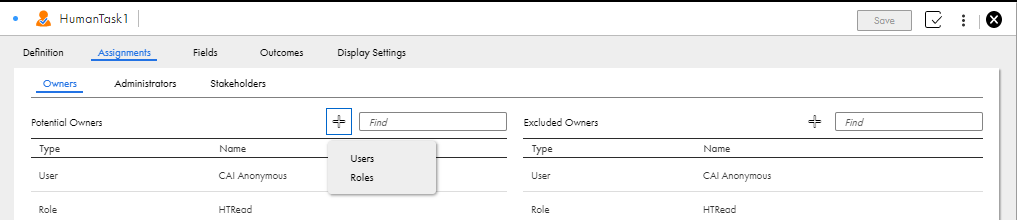
On the Assignments tab of the human task asset, you can add a list of all the users and roles that can access the task and take actions. You can add a list of potential owners on the Assignments > Owners tab. The potential owners can become the actual owners of the task and can work on a task after claiming the task.
Add the users or roles that can claim the task and act on it. If you do not add any potential owner, all users can claim the task. If you add only one user as a potential owner, the task is assigned only to the configured owner.
1Click the Assignments tab.
The following image shows the Owners tab:
2On the Owners tab, click + in the Potential Owners section to add users or roles from the list.
3 Perform one of the following steps:
- To add a user, click Users and select a user from the list. Click OK.
- To add a role, click Roles and select a role from the list. Click OK.
Step 3. Define excluded owners
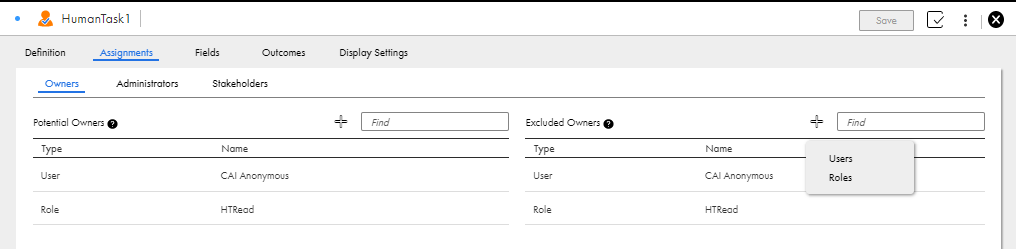
On the Assignments > Owners tab of the human task asset, you can add a list of excluded owners who will not be able to access, own, or perform any action on the task.
Add the owners that you would like to exclude from claiming a task. If you add a user or role as both a potential owner and an excluded owner, the user or role cannot claim the task. If you add a potential user's role in the excluded owner list, the user cannot claim the task.
1Click the Assignments tab.
The Excluded Owners section appears as shown in the following image:
2On the Owners tab, click + in the Excluded Owners section to add users or roles from the list.
3 Perform one of the following steps:
- To add a user, click Users and select a user from the list. Click OK.
- .To add a role, click Roles and select a role from the list. Click OK.
Step 4. Define task administrators
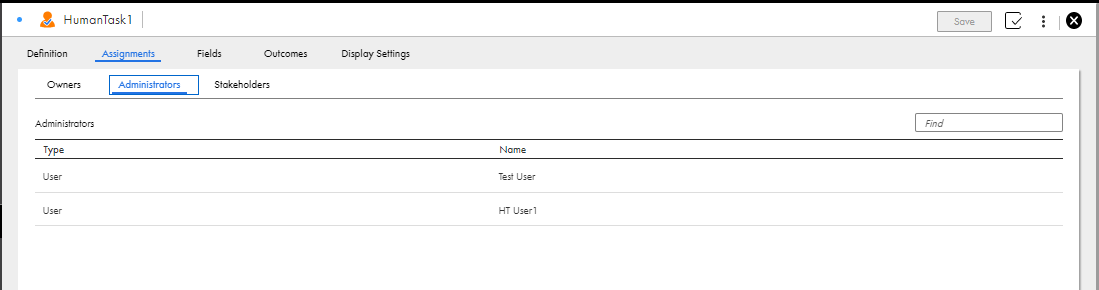
On the Assignments > Administrators tab of the human task asset, you can add a list of administrators who are authorized to assign and reassign tasks.
1Click the Assignments tab.
2Click the Administrators section. The Administrators section appears as shown in the following image:
3Click + to add the users or roles from the list.
4 Perform one of the following steps:
- To add a user, click Users and select a user from the list. Click OK.
- .To add a role, click Roles and select a role from the list. Click OK.
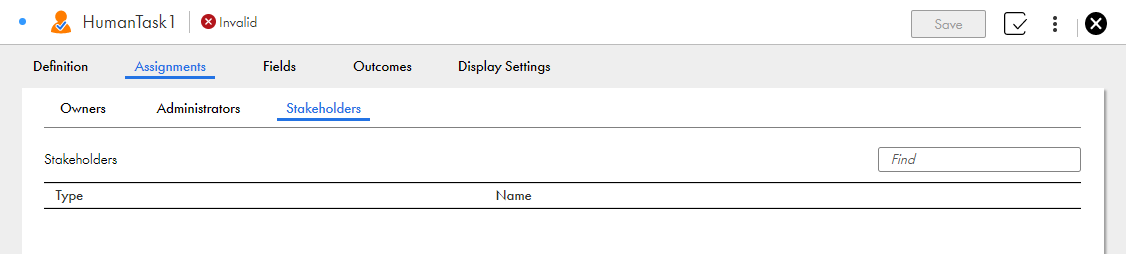
Step 5. Define stakeholders
On the Assignments > Stakeholders tab of the human task asset, you can add a list of stakeholders who are authorized to review a task. Stakeholders can take necessary actions when a problem arises. Stakeholders can also attach files and add comments to tasks. A task can have multiple stakeholders.
1Click the Assignments > Stakeholders tab.
The Stakeholders tab appears as shown in the following image:
2Click + to add users or roles from the list.
3Perform one of the following steps:
- To add a user, click Users and select a user from the list. Click OK.
- To add a role, click Roles and select a role from the list. Click OK.
Step 6. Configure input fields and output fields
On the Fields tab of the human task asset, you can specify all the input field and output field properties such as the field name, field type, field description, and default values. You can also specify whether the configured fields are required.
Configure the input fields to display information that the task owners will need to act on a human task. Configure the output fields that the task owners can use to provide information about the human task.
1Click the Fields tab.
The Input Fields section appears as shown in the following image:
2To add input fields, perform the following steps:
aClick + to add an input field.
bEnter a name for the input field.
cEnter a label for the input field.
dSelect the field type from the list. You can select the integer, checkbox, text, date, date time, number, time, text area, and object. If you select the type as Object, you can select a process object. Process objects help in grouping information. For example, instead of creating separate fields for name, address, phone number, and so on, you can create one process object with different fields that contain demographic data. For more information about creating process objects, see Designing Process Objects. For rules and guidelines that you need to consider while using process objects in human task assets, see Rules and guidelines for using process objects.
eOptionally, enter a description for the field.
fIn the Default Valuefield, enter the most used value for the field or provide guideline text about how to configure the field.
gSelect the Required check box to set the input field as required for the task.
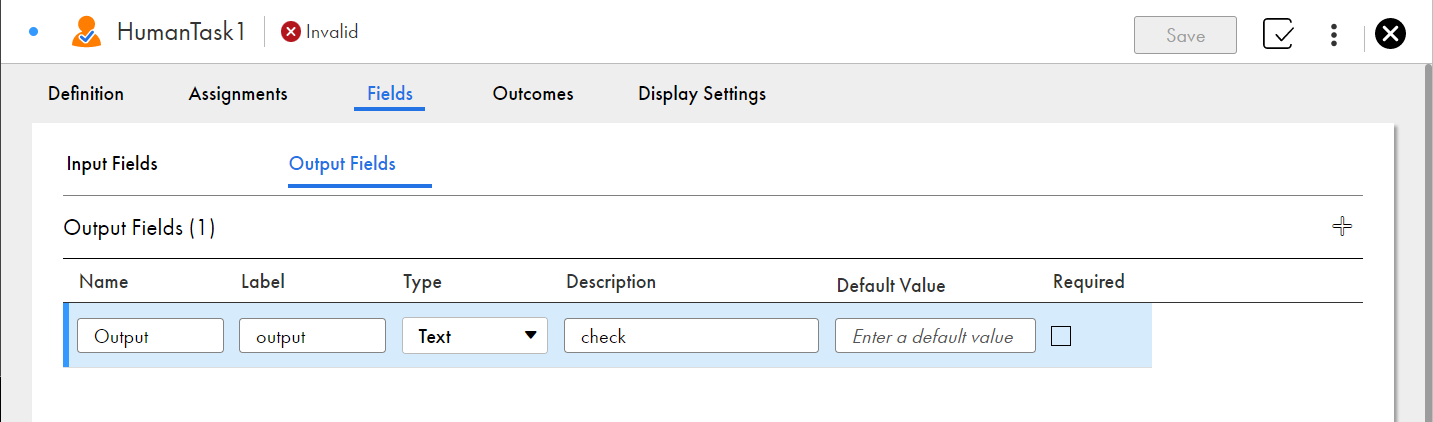
3Click the Output Fields section.
The Output Fields section appears as shown in the following image:
4To add output fields, perform the following steps:
aClick + to add an output field.
bEnter a name for the output field.
cEnter a label for the output field.
dSelect the field type from the list. You can select the integer, checkbox, text, date, date time, number, time, text area, and object. If you select the type as Object, you can select a process object. Process objects help in grouping information. For example, instead of creating separate fields for name, address, phone number, and so on, you can create one process object with different fields that contain demographic data. For more information about creating process objects, see Designing Process Objects. For rules and guidelines that you need to consider while using process objects in human task assets, see Rules and guidelines for using process objects.
eOptionally, enter a description for the field.
fIn the Default Value field, enter the most used value for the field or provide guideline text about how to configure the field.
gSelect the Required check box to set the output field as required for the task.
Rules and guidelines for using process objects
Consider the following rules and guidelines when you use a process object in a human task asset:
•You can add a maximum of 10 process objects in the input fields and output fields altogether.
•The selected process object can contain a maximum of 5 nested objects.
•The selected process object can contain a maximum of 50 input fields and output fields including nested objects.
•The selected process object can't contain any cyclic reference.
•The selected process must contain at least one item.
Step 7. Configure task outcomes
On the Outcomes tab of the human task asset, you can specify how the task must be completed. You can create a list of possible decisions that a task owner can take on the task. For example, you can add Approve and Reject as possible outcomes for a task.
1Click the Outcomes tab.
The following image shows the Outcomes tab:
2Click + and add the outcomes that must appear in the Human Task Inbox of the Human Tasks service.
Step 8. Configure display settings
On the Display Settings tab of the human task asset, you define the settings that the task uses in the Human Task Inbox. You can specify properties such as the display name for the task, task subject, and task description.
You can use a guide rendering method or default rendering method to display the fields in the Human Task inbox. If you choose a guide as a rendering method, the task uses the screens defined in the guide to display the fields. If you do not choose a guide as a rendering method in the Guide field, the task will use the default rendering method to display the fields in the Human Task Inbox.
There are two ways in which you can use the guide rendering method for the human task. You can either select a guide or generate a new guide that the task must use for rendering in the Human Task Inbox. If you click Browse, you can select an existing guide in Application Integration. However, the input fields, output fields, and outcomes of the selected guide must match the values that you specify in the human task asset.
You can create a new guide by clicking Generate. With this feature, you can generate a guide with pre-populated values in the input fields, output fields, and outcomes based on the values that you define in the asset. You can further configure, save, and publish the guide to use it in the human task.
Note:
When you generate a new guide, the output field will not appear as mandatory in the guide designer even if you have selected the Required field for the output field in the human task asset. You will be able to complete the task successfully and continue with the next step in the process even if you do not provide a value for a required output field.
1Click the Display Settings tab.
The following image shows the Display Settings tab:
2Enter a name for the human task that the process generates. Optionally, you can select the value by clicking the Expression Editor icon next to the Task Name field.
3Enter the task subject that must be displayed in the Human Task Inbox. Optionally, you can select the value by clicking the Expression Editor icon next to the Subject field.
4Optionally, enter the task description that must appear in the Human Task Inbox. You can also select the value by clicking the Expression Editor icon next to the Description field.
5Optionally, select an existing guide or generate a new guide that you want to map to the human task in the Guide field. Click the Generate button and click OK on the confirmation message to generate a new guide.
6You can further configure the guide as per the requirement. After you have generated a new guide, you must save and publish the new guide to use it in the human task. Any error that occurs during the guide generation will appear as a validation error in the human task asset.